What Pole Height & Wattage for This Road?
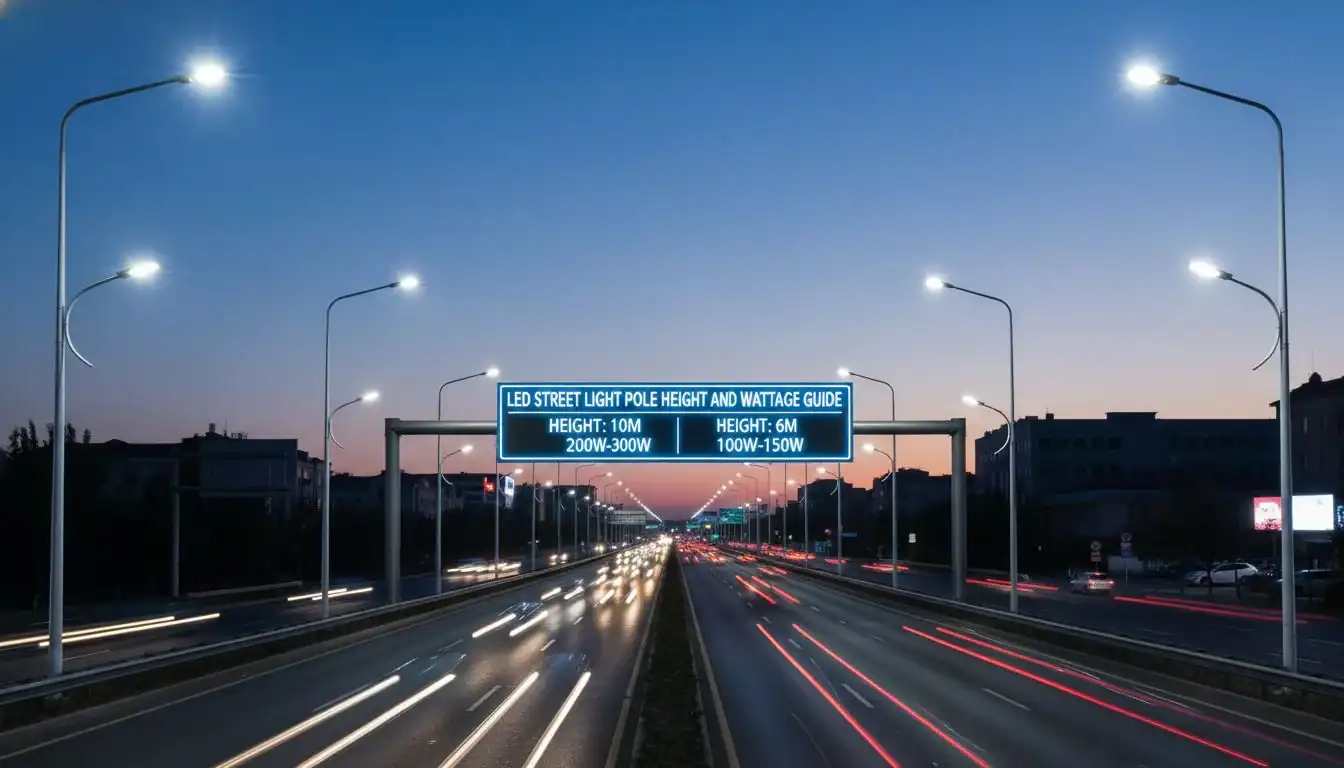
Choosing the wrong street light pole height1 or wattage is a costly mistake. Your project could fail safety standards, waste energy, or create light pollution. I'll show you how to get it right.
The right pole height depends on road width and speed, typically 6-12 meters for urban roads. Modern LED wattage2 is usually 30-100W, but this depends heavily on pole spacing and advanced optics, not just power. These factors work together to meet safety and efficiency goals.

Over my 13 years in the LED lighting business, I've seen countless contractors and developers get stuck on this exact question. They have a road to light, but the path from a technical standard to a real-world product list seems confusing. It's a common problem, but one with a clear solution. I've helped clients from North America to Southeast Asia navigate this, turning complex lighting codes into simple, actionable plans. The key isn't just picking a number from a catalog; it's about understanding the relationship between height, power, and light distribution. Once you grasp a few core principles, you can scope any road lighting project with confidence, ensuring it's both safe and budget-friendly. Let's walk through the process I use with my own clients.
All street lights over 150W are required for major highways.False
With modern high-efficacy LEDs and advanced optics, many major roads can be lit effectively with fixtures under 150W, sometimes as low as 80-100W, improving energy efficiency.
Pole height is primarily determined by the width of the road and the required area of light coverage.True
Taller poles can light a wider area more uniformly and allow for greater spacing between poles, which is why they are used for multi-lane roads and highways.
From Code to Curb: How Do You Convert IES/CIE Classes into Pole Height and Wattage?
Struggling to make sense of IES or CIE lighting classes? It can feel like reading a secret code, leaving you unsure of what products to specify. I can help you translate those codes into concrete pole heights and wattages.
IES/CIE classes3 define required light levels. For example, an IES M3 class for a collector road needs about 0.8 cd/m² average luminance. This typically translates to a 10-12 meter pole with a 60-100W LED fixture, depending on spacing and beam angle.

When I start a new project, the first thing I look at is the road classification. Standards like the IES RP-8-25 in North America are not just suggestions; they are the foundation of a safe design. They tell us exactly how much light is needed and how uniform it must be. Let's break it down.
Understanding Luminance and Illuminance
First, these standards talk about two things: luminance4 (measured in candelas per square meter, cd/m²) and illuminance (measured in lux or footcandles).
- Luminance is how bright the road surface appears to a driver. This is the most important factor for driver safety.
- Illuminance is the amount of light hitting the road surface. It's easier to measure but less relevant to a driver's perception.
Matching Classes to Real Roads
The standards create classes based on road type and traffic volume. A busy urban highway needs more light than a quiet residential street. Here’s a simple table I use to get started:
| Road Type | Typical IES/CIE Class | Avg. Luminance (cd/m²) | Typical Pole Height |
|---|---|---|---|
| Local Residential | M4 / P-Classes | 0.3 - 0.6 | 6 - 8 m |
| Collector Road | M3 | 0.6 - 0.8 | 9 - 10 m |
| Major Arterial | M2 | 0.8 - 1.2 | 10 - 12 m |
| Highway/Freeway | M1 | > 1.2 | 12 - 40 m |
For a client like Somchai in Thailand developing a large commercial property, the access roads would likely be "Collector" roads. Based on this table, I'd immediately recommend starting with a 9-10 meter pole design. From there, we can select a 60-100W fixture from our Besenled catalog and run a quick simulation to confirm it meets the M3 class requirements for luminance and uniformity. This code-based approach removes guesswork and ensures the final installation is safe and compliant.
Illuminance is the most critical metric for road safety design.False
While illuminance (lux/fc) is important, luminance (cd/m²) is the primary metric for road lighting design because it measures the brightness perceived by a driver, which directly impacts visibility and safety.
IES RP-8-25 is a widely used recommended practice for roadway lighting design in North America.True
The Illuminating Engineering Society's RP-8 document provides comprehensive guidelines on lighting levels, uniformity, and glare control for various types of roads and pedestrian areas.
The 3–6–9–12 Rule: What Are Fast Sizing Heuristics that Match Real Projects?
Need a quick estimate for a project bid but don't have time for complex lighting software? Guessing pole height can ruin your budget and timeline. I use a simple rule to get a reliable starting point instantly.
The 3-6-9-12 rule5 is a quick sizing guide. Use 3-6 meter poles for walkways and residential streets, 9 meters for collector roads, and 12+ meters for major arterials. This heuristic helps you scope projects fast and accurately.

In my experience, speed is critical when you're bidding on a project. A developer needs a budget number yesterday, not next week. This is where simple, reliable rules of thumb are invaluable. The "3-6-9-12 Rule" is something I've developed over years of projects, and it aligns remarkably well with final, engineered designs. It's based on the principle that pole height must scale with the road's width and the speed of the traffic on it.
Why Height Matters
Taller poles are not just for show. They provide two key benefits:
- Wider Light Distribution: A taller light source can cast light over a larger area, just like holding a flashlight higher illuminates more of the ground. This allows for greater spacing between poles, reducing the total number of poles and fixtures needed for a project.
- Better Visual Comfort: Higher mounting reduces glare for drivers. When a light source is too low and close to the driver's line of sight, it can be blinding (this is called disability glare). Raising the pole moves the light source out of the driver's direct view.
Applying the Rule
Here is how I apply the rule in practice. It's a great starting point for any discussion with a client.
| Pole Height Range | Application | Why It Works |
|---|---|---|
| 3-6 meters | Pedestrian walkways, bike paths, quiet residential streets. | The lit area is narrow, and traffic is slow or non-existent. Lower heights create a sense of human-scale comfort and safety. |
| 9 meters | Urban collector roads, commercial parking lots, industrial access roads. | These are medium-width roads with moderate traffic speeds (40-60 km/h). A 9m pole provides good coverage without being excessive. |
| 12+ meters | Multi-lane arterials, highways, and major intersections. | Wide carriageways and high speeds require broad, uniform lighting and minimal glare. Taller poles are essential for safety here. |
When a contractor asks me for a quick quote for a new warehouse parking lot, I immediately think "9 meters." It's the perfect starting point for selecting the right Besenled pole light and wattage.
Shorter poles are always cheaper for a project because they use less material.False
While individual shorter poles are cheaper, they may require closer spacing to achieve uniform lighting, potentially increasing the total number of poles, fixtures, and installation points, which can raise the overall project cost.
The space-to-height ratio (SHR) is a key factor in determining the maximum distance between street light poles.True
SHR is a guideline provided by the fixture manufacturer that indicates how far apart poles can be placed relative to their mounting height while still maintaining acceptable light uniformity.
Optics Beat Watts: How Can Asymmetric Beams Lower Power Needs?
Everyone wants to save energy, but simply lowering the wattage can create dangerous dark spots on a road. The real secret to efficiency isn't just about power; it's about putting the light exactly where you need it.
asymmetric optics6, like IES Type II or III, direct light onto the road surface in a controlled pattern. This precision prevents wasted light and often allows you to use a lower-wattage fixture (e.g., 60W instead of 100W) while still meeting safety standards.
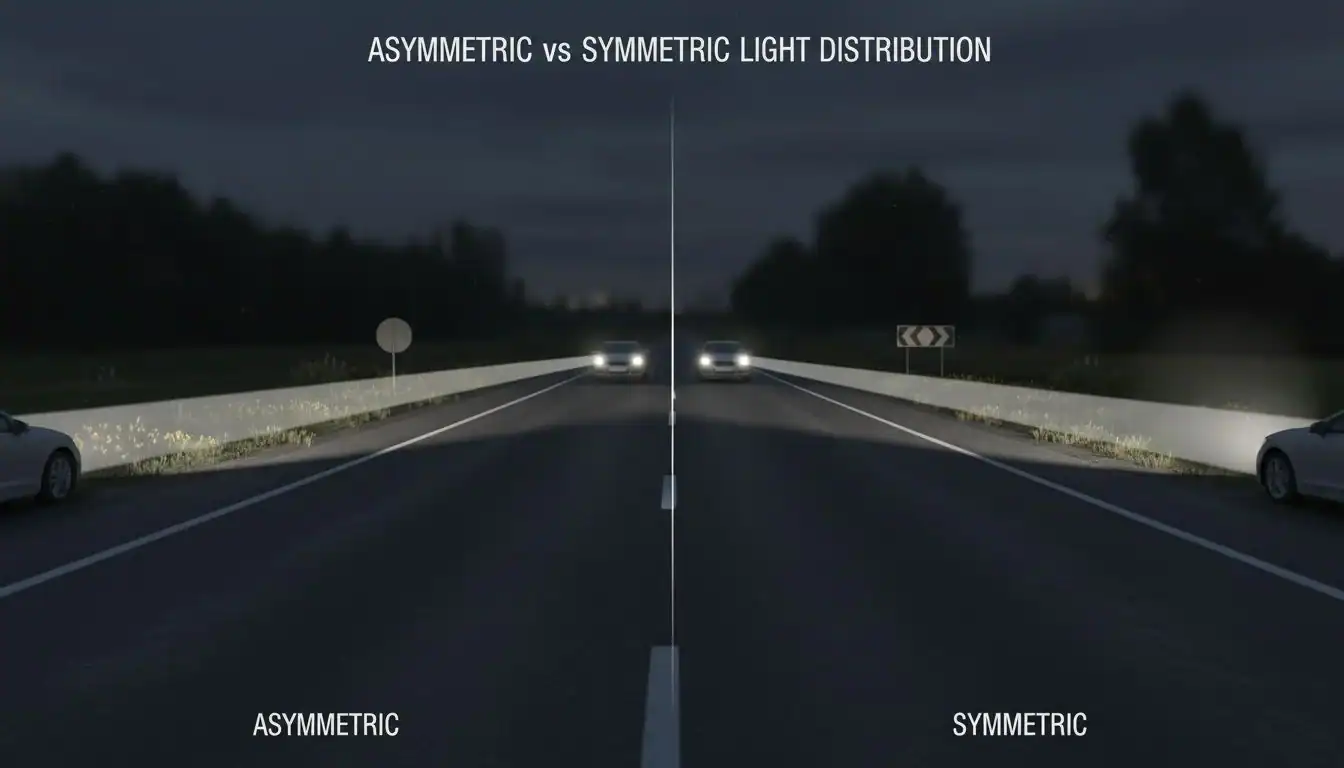
I remember a project for a retail developer in South America. They wanted to light their parking lot efficiently but were worried about high energy bills from traditional 250W metal halide lamps. Instead of just replacing them with high-power LEDs, I showed them the power of optics. We used a 100W Besenled fixture with a Type III asymmetric beam. The result? Perfect uniformity, full safety compliance, and a 60% reduction in energy consumption. The client was thrilled. This is a lesson I share with every customer: focus on the beam, not just the watts.
What Are Asymmetric Beams?
A simple light bulb throws light out in all directions (a symmetric pattern). This is incredibly wasteful for a road, as it spills light into the sky, nearby homes, and behind the pole. Asymmetric beams are shaped by special lenses to distribute light in a specific, controlled way. The most common types for road lighting are:
- Type II: Best for narrower roads or when poles are placed near the side of the road. It throws light longer than it is wide.
- Type III: The workhorse for most roads. It pushes light forward and outward, ideal for lighting a multi-lane road from poles located on one side.
- Type IV: A "forward throw" beam that pushes light forward with less sideways spread. It's great for perimeter lighting on parking lots or when you need to avoid light trespass on adjacent properties.
By selecting the right beam type, you ensure that nearly all of the lumens produced by the LED are used to light the target area. This efficiency is why a modern 80W LED with good optics can often outperform an older 150W LED with poor optics. It's a key advantage we build into our Besenled products.
Higher wattage always means a brighter and safer road.False
Safety comes from the quality and uniformity of light, not just raw power. A lower-wattage fixture with superior optics can create a safer environment with less glare and better uniformity than a high-wattage fixture with poor light control.
IESNA defines standard light distribution patterns (Type I, II, III, IV, V) to help specifiers choose the right fixture for a given application.True
These classifications describe the shape of the area a fixture will illuminate, ensuring light is directed efficiently onto roads, pathways, or parking areas based on the pole's location.
Design for the Night You Actually Have: How Does Adaptive Dimming Save Money Without Risking Safety?
Running streetlights at 100% brightness all night long is a massive waste of energy and money. But many facility managers worry that dimming the lights could compromise public safety. There is a smart way to get significant savings without any risk.
adaptive dimming7 uses schedules or sensors to automatically lower light levels during very low-traffic hours, like from 1 AM to 5 AM. Dimming to 50% can cut energy use dramatically while still providing safe light levels that meet off-peak standards.
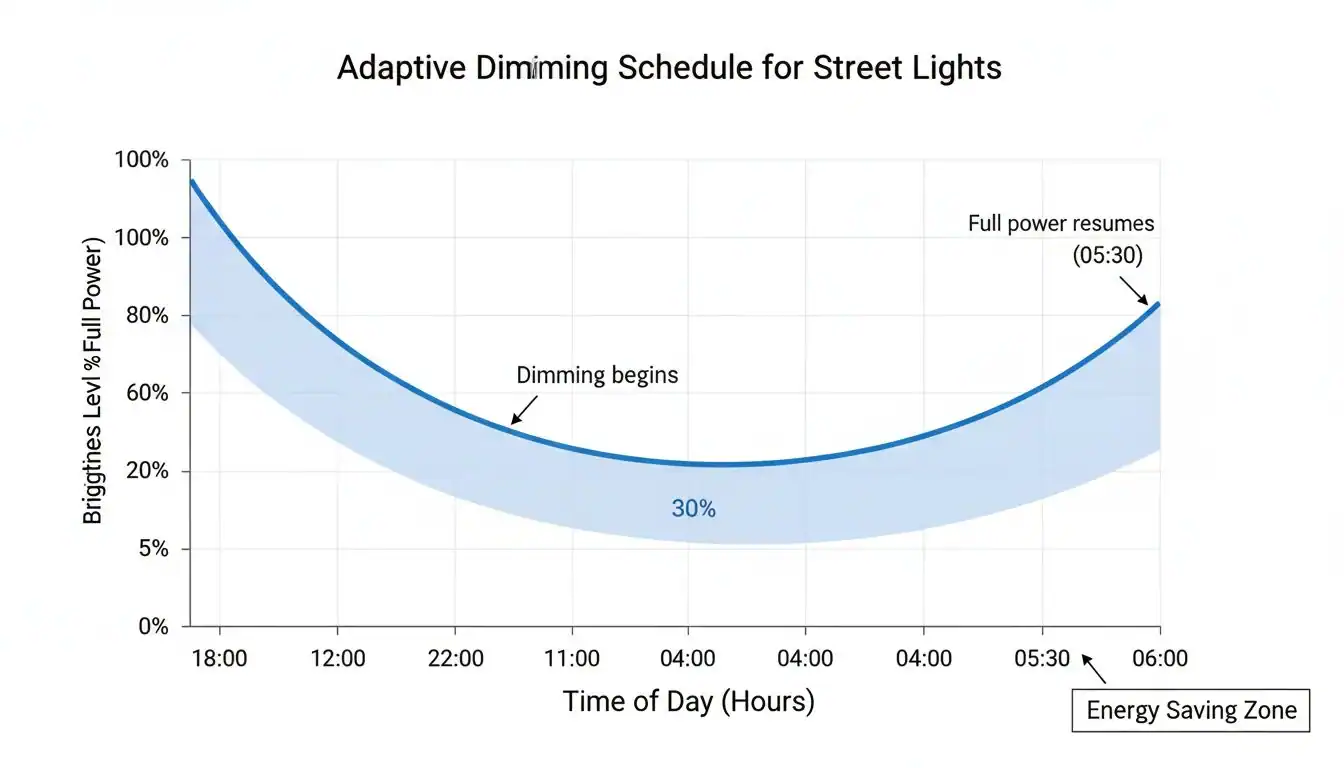
One of the biggest pain points for my clients, especially those managing large commercial or industrial sites, is operational cost. Electricity is a huge part of that. When I propose smart lighting, the idea of adaptive dimming is always a game-changer. It’s based on a simple truth: the lighting needed at 8 PM during rush hour is not the same as the lighting needed at 3 AM when the road is empty.
How Smart Dimming Works
Modern LED fixtures, like the ones we design at Besenled, can be equipped with smart controls. The most common methods are:
- Scheduled Dimming: The fixture is pre-programmed with a simple schedule. For example: 100% brightness from dusk until midnight, dim to 50% from midnight to 5 AM, and return to 100% until dawn. This is simple, reliable, and delivers huge savings.
- Sensor-Based Dimming: Motion sensors can be added to the poles. The lights remain at a low level (e.g., 30%) until a car or pedestrian is detected, at which point they ramp up to 100% brightness, then dim back down after a set time. This offers the maximum possible energy savings.
Is It Safe?
This is the most important question. The answer is yes, when designed correctly. Lighting standards from the IES and CIE often acknowledge that traffic volumes drop late at night and may allow for lower light level requirements during these periods. By dimming to a level that still meets these off-peak minimums, you maintain a safe environment while maximizing energy efficiency8. For a developer building a multi-unit residential complex, this means lower long-term costs for the homeowners' association and a greener, more sustainable property. It’s a win-win.
Dimming street lights at night is always unsafe and leads to more accidents.False
When implemented correctly based on traffic data and IES/CIE guidelines for off-peak hours, adaptive dimming is safe. It maintains required minimum light levels for security and visibility while saving significant energy.
DALI and 0-10V are common communication protocols used for controlling and dimming LED lighting systems.True
These protocols allow fixtures to be controlled by a central management system, enabling features like scheduling, dimming, and diagnostics, which are key components of a smart lighting network.
What Are the Most Frequently Asked Questions About Street Lighting?
You've got questions, and after more than a decade in this business, I've heard them all. Specifying street lighting can seem complex, but it's straightforward once you clear up a few key points. Let's tackle the most common questions I get from clients.
Standard pole heights are 6-12m, and LED wattages are typically 30-150W. Yes, height affects wattage selection. Standards set specific luminance targets. And yes, smart dimming is safe when it follows established guidelines. Let's break these down.
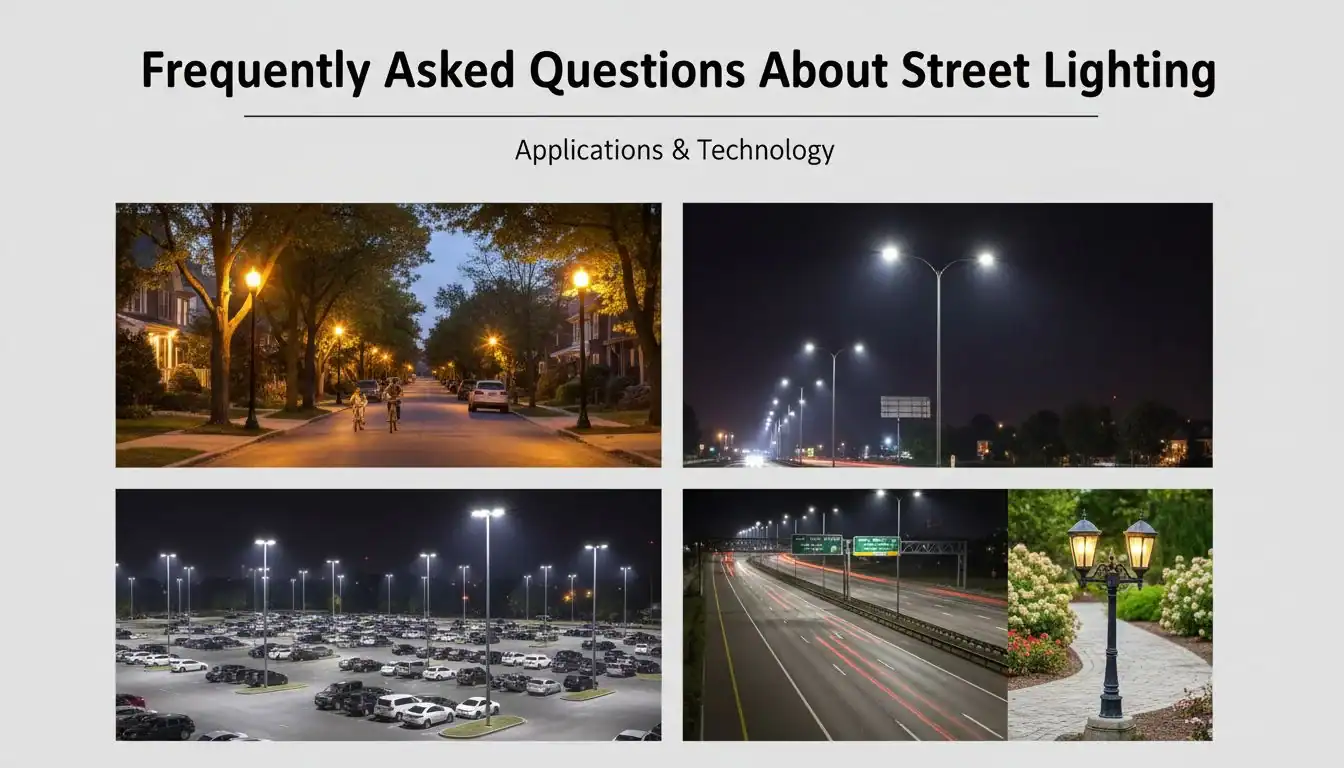
Getting a project started on the right foot means having clear answers. For contractors and developers, time is money, and confusion leads to delays. Here are the direct answers to the questions I'm asked almost every day.
What is the standard street light pole height?
There isn't one single "standard" height, as it depends entirely on the application. However, the most common range is 6 to 12 meters (about 20 to 40 feet). As we covered in the 3-6-9-12 rule, you'd use shorter poles (6-8m) for residential streets and taller poles (10-12m) for main roads and arterials.
How many watts do LED street lights use?
This has changed dramatically with technology. While old high-pressure sodium lights were 250W or 400W, modern LED street lights are far more efficient. For most road applications, you'll see wattages ranging from 30W to 150W. With the advanced optics we use at Besenled, it's common to light a collector road perfectly with a fixture using just 60-100W.
Does pole height affect wattage selection?
Yes, absolutely. But it's a balancing act. A taller pole requires a fixture with higher lumen output (and thus, often higher wattage) to deliver the same amount of light to the ground. However, because the taller pole spreads light over a wider area, you can space the poles further apart. The goal is to find the most cost-effective combination of pole height, wattage, and spacing for the entire project.
What lighting levels do standards require?
Standards from bodies like the IES (in North America) and CIE (globally) set specific targets for safety. They focus on luminance (how bright the road looks) and uniformity (how evenly the light is spread). For example, a major road might require an average luminance of 1.2 cd/m² with a uniformity ratio that prevents dark patches between poles.
Is dimming at night safe?
Yes, it is safe when done intelligently. Adaptive dimming doesn't mean turning the lights off. It means reducing them to a lower, pre-defined level during hours with minimal traffic (e.g., 1 AM to 5 AM). This lower level is still designed to meet safety minimums for low-activity periods, ensuring visibility while saving up to 50% or more in energy costs. Our smart, DALI-compatible systems make this easy and reliable.
A 100W LED street light is a direct replacement for a 100W High-Pressure Sodium (HPS) light.False
A 100W LED is significantly more powerful than a 100W HPS light. A 100W LED can typically replace a 250W HPS fixture, offering over 50% energy savings for the same light output.
Light uniformity is as important as brightness for road safety.True
Poor uniformity creates patterns of bright and dark spots on the road, which can be dangerous for drivers as their eyes struggle to adapt. Standards set strict limits on the allowable variance in light levels.
Conclusion
Choosing the right pole height and wattage is simple with these rules. Focus on standards, optics, and smart controls to build safe, efficient, and cost-effective lighting projects for any road.
References
-
Understanding pole height is crucial for ensuring proper light distribution and safety on roads. ↩
-
Knowing the right wattage helps in selecting energy-efficient lighting solutions that meet safety standards. ↩
-
These classes are essential for determining the appropriate lighting levels for different road types. ↩
-
Luminance is key to driver safety, affecting visibility and perception on the road. ↩
-
This rule provides a quick reference for selecting appropriate pole heights based on road types. ↩
-
Asymmetric optics enhance light distribution, allowing for lower wattage without compromising safety. ↩
-
Adaptive dimming can significantly reduce energy costs while maintaining safety during low-traffic hours. ↩
-
Exploring energy-efficient solutions is vital for reducing operational costs and environmental impact. ↩