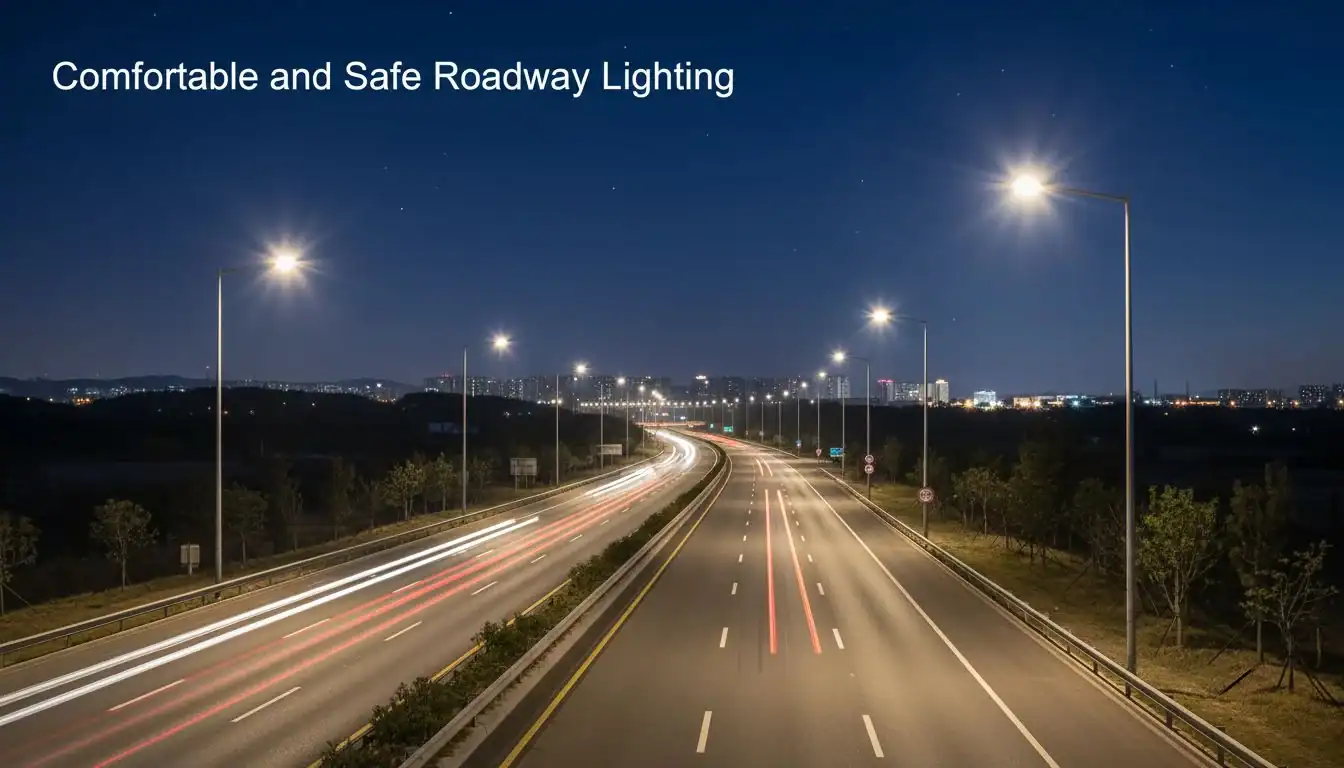
Driver complaints about blinding streetlights? Poor visibility from Glare1 creates serious safety risks and project headaches. We have four proven strategies to fix this, ensuring comfort and compliance.
To reduce roadway glare, you must prioritize luminaires with low Glare (G) BUG ratings2 and asymmetric optics. You should also design layouts based on Threshold Increment (TI) limits from standards like EN 13201, and use smart controls to dim lights during off-peak hours for maximum comfort.
Roadway lighting accounts for approximately 10% of all electricity consumed in the United States.True
According to the Department of Energy, efficient and well-designed roadway lighting is critical for national energy savings.
All LED streetlights have a lower glare rating than traditional HID lamps.False
Glare is determined by luminaire design, not just the light source. Poorly designed LEDs can create more intense, focused glare than older, more diffuse HID sources.
Glare isn't just an annoyance; for my clients, like procurement directors managing large infrastructure projects in regions like South Asia or the Middle East, it's a compliance and safety issue. A project's success depends on meeting strict standards and ensuring public acceptance. Getting glare wrong means facing costly rework and potential liability. Over my 13 years in the LED business, I've seen that a proactive, design-led approach is the only way to guarantee success. Let's break down the exact steps we at Besenled use to deliver glare-free, efficient roadway lighting projects.
Why Should Optics Be Your First Step in Reducing Glare?
Choosing the wrong optic causes light trespass and blinding glare for drivers. This leads to project delays and unhappy communities. Start with the right luminaire optics for immediate control and compliance.
Yes, optics are your first line of defense. Select luminaires with a low Glare rating (G1 or G2 in the IES BUG system) and use asymmetric distributions (like Type II, III, or IV) to direct light onto the road and away from drivers' eyes.
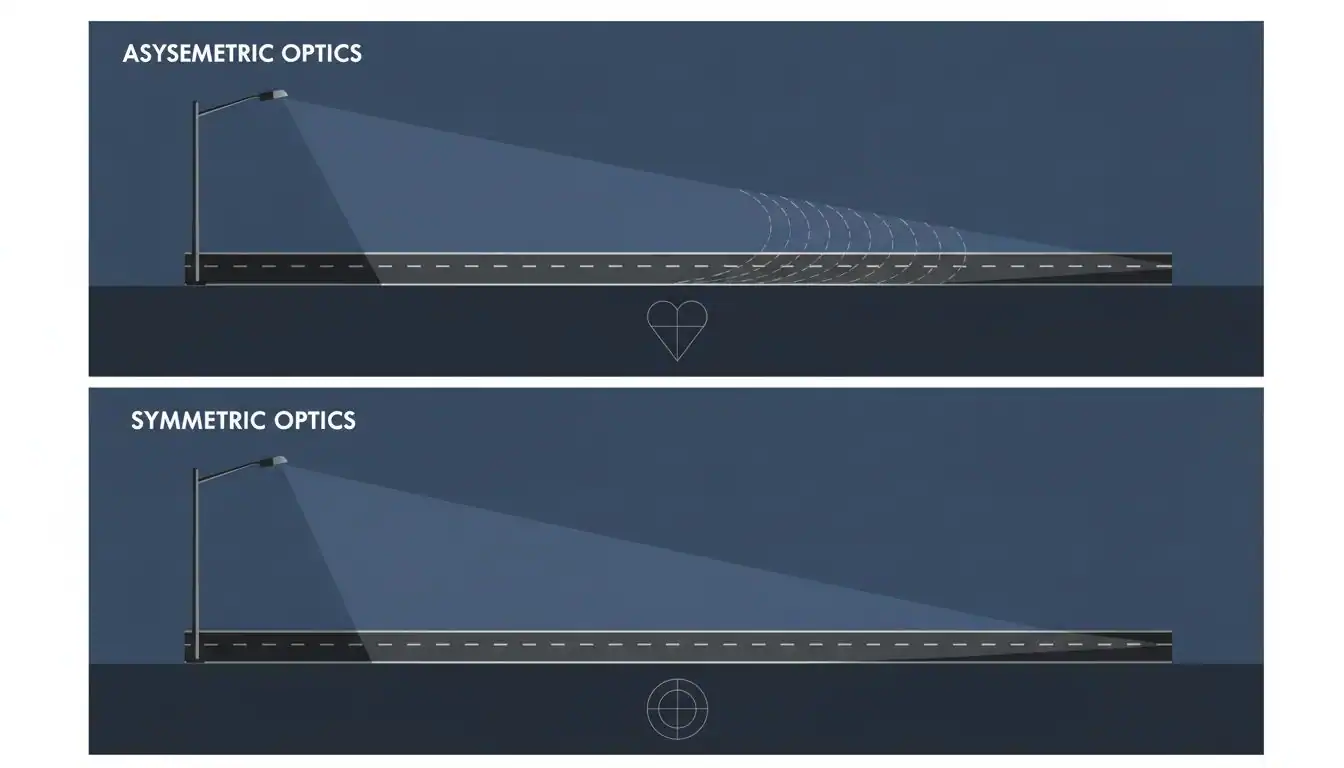
When I work with a developer on a new commercial park, the first thing we discuss is the lighting layout and the luminaire itself. The choice of optic is fundamental. It dictates where every lumen goes. Controlling glare starts with not producing it in the first place.
Understanding BUG Ratings
The IES (Illuminating Engineering Society) created the BUG (Backlight, Uplight, Glare) rating system to classify how a luminaire distributes light. For driver comfort, the "G" rating is the most important. It measures the amount of light emitted at high angles (60-90 degrees) that can cause glare. A lower G-rating is always better for roadway applications.
| BUG "G" Rating | Forward Light in High-Angle Zones (80-90°) | Best Application |
|---|---|---|
| G0 | < 175 lumens | Pedestrian areas, sensitive zones |
| G1 | < 500 lumens | Local roads, collector roads |
| G2 | < 1250 lumens | Major roads, highways |
| G3-G5 | > 1250 lumens | Not recommended for most roadways |
Choosing Asymmetric Distributions
Asymmetric optics3 are designed to throw light forward and to the sides, creating a rectangular or oval pattern ideal for lighting long, linear spaces like roads. This prevents wasting light behind the pole (backlight) and directs it away from the direct line of sight of oncoming drivers. For example, a Type III distribution is perfect for a wide access road, pushing light across multiple lanes from poles set at the side. In a recent project in Thailand, switching from a generic symmetric floodlight to our Type III pole lights reduced high-angle candela by over 60% and eliminated driver complaints entirely.
A luminaire with a G2 rating is suitable for all roadway applications.False
While G2 is acceptable for major roads, a lower G1 or G0 rating is often required for local roads or areas adjacent to residential properties to minimize glare and light trespass.
Asymmetric light distributions can improve lighting uniformity on the road surface.True
By directing light where it's needed, asymmetric optics create more even illumination between poles, reducing the 'scalloping' effect and improving driver visibility.
How Can You Design to Meet EN 13201 Glare Limits?
Struggling to translate complex standards into a real-world lighting plan? Miscalculating glare can lead to non-compliance and costly rework. Here’s how to use Threshold Increment (TI) limits effectively.
Meet EN 13201 by calculating the Threshold Increment (TI), a measure of disability glare. You must adjust luminaire mounting height, spacing, and tilt to keep the calculated TI value below the standard's maximum for your specific road class.
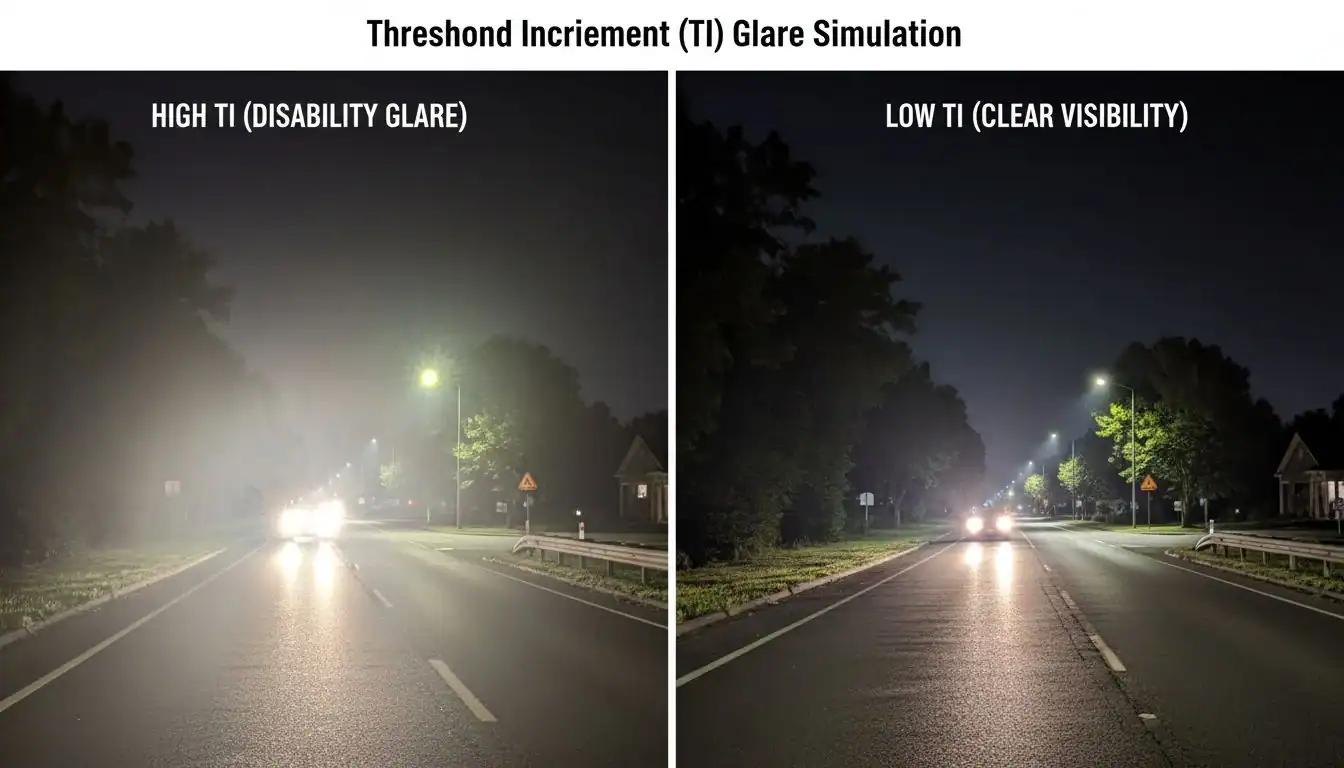
For my clients in Europe and the Middle East, compliance with EN 13201 is non-negotiable. This standard moves beyond simple ratings and requires a calculated approach to disability glare, which is the loss of visibility caused by stray light in the eye. The key metric here is the Threshold Increment (TI).
What is Threshold Increment (TI)?
TI is expressed as a percentage and represents the increase in an object's brightness required for it to be visible due to the veiling luminance from glare sources. A lower TI value means better visibility and less glare. The standard sets maximum allowable TI values based on the road's lighting class.
Practical Design Steps for TI Compliance
Turning these standards into a compliant design involves a clear decision-making process. We use Lighting design software4 like DIALux to model these outcomes before a single pole is installed.
- Identify the Road Class: First, determine the lighting class from the project specifications (e.g., M, C, or P class).
- Find the TI Limit: Use the standard to find the maximum TI allowed.
- Model and Adjust: Input your chosen luminaire, mounting height, and spacing into the software. If the calculated TI is too high, you can:
- Increase Mounting Height: This moves the light source further from the driver's line of sight.
- Decrease Pole Spacing: This improves uniformity and reduces the need for high-angle light from each luminaire.
- Reduce Luminaire Tilt: A 0° tilt is ideal to minimize forward-throwing glare.
Here is a simplified table based on EN 13201-2 to guide your design choices:
| Lighting Class (Example) | Description | Max TI (%) | Typical Design Response |
|---|---|---|---|
| M2 | Motorways, expressways | 10% | High mounting height (>12m), low-G luminaires |
| M3 | Arterial roads | 15% | Medium height (10-12m), G1/G2 luminaires |
| C3 | Collector roads | 15% | Standard height (8-10m), careful spacing |
A higher mounting height always reduces glare.True
Increasing the mounting height of a luminaire increases the angle between the light source and the driver's line of sight, which significantly reduces veiling luminance and thus lowers the TI value.
Threshold Increment (TI) measures discomfort glare.False
TI specifically measures disability glare, which is the objective loss of visibility. Discomfort glare is a subjective feeling of annoyance, which is measured by other metrics like Glare Rating (GR).
Can Diffusers Cut Glare Without Wasting Energy?
Worried that adding diffusers will kill your luminaire's efficiency? Sacrificing performance for comfort seems like a bad trade-off. But modern diffusers offer a balanced solution.
Yes. Modern Micro-prismatic lenses5 and specialized comfort diffusers can soften light and cut glare with minimal efficiency loss, often less than 5-10%. They work by scattering high-angle light without blocking the useful downward light, maintaining high luminaire efficacy for your project.
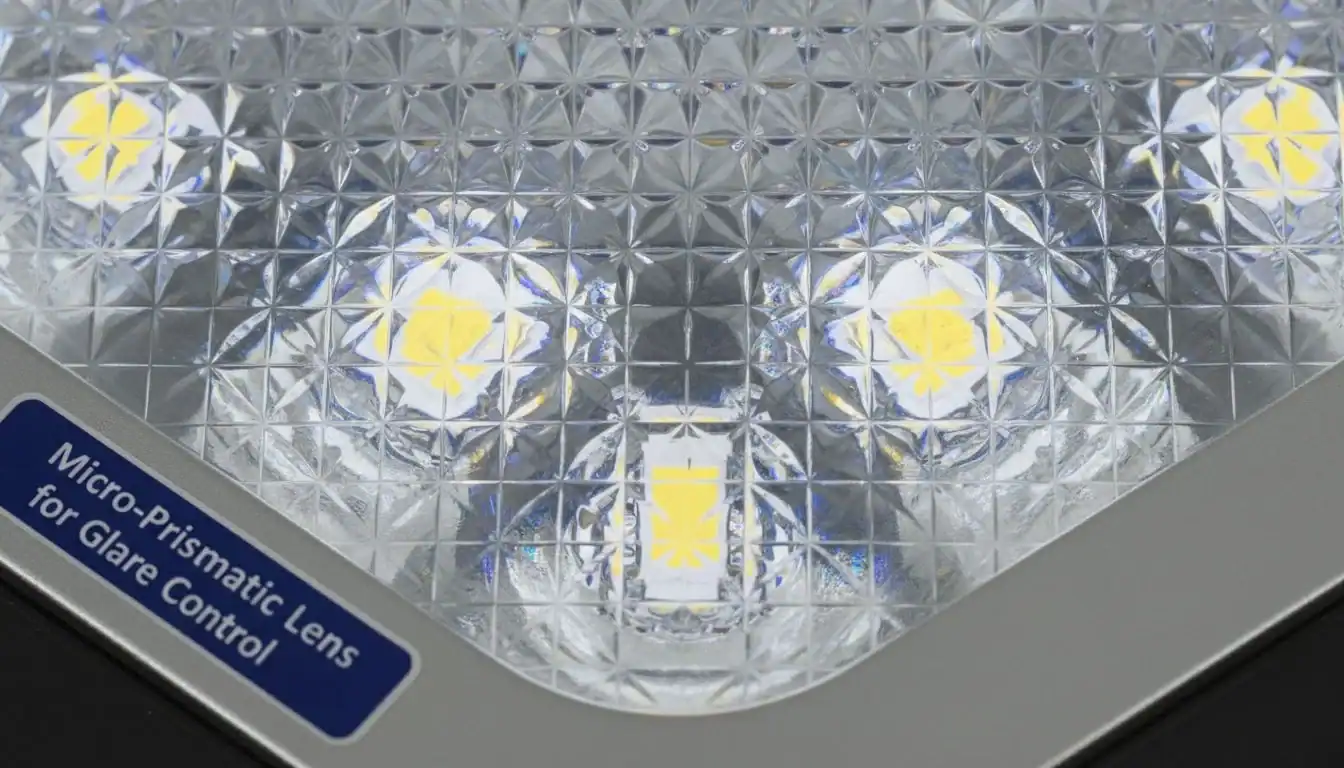
I often get questions from contractors, especially those working on projects near residential areas, about how to make lighting "softer." They've heard that diffusers make lights inefficient, a major concern when the project's goal is energy savings. This was true of old-style opal diffusers, which could absorb 30-40% of a luminaire's output. But technology has changed.
The Power of Micro-Prismatic Lenses
Today, we use advanced micro-prismatic or nano-optic diffusers. These aren't just frosted pieces of plastic. They are engineered surfaces with thousands of tiny prisms or structures.
- How They Work: These structures precisely redirect light rays. They allow light aimed downwards (useful light) to pass through with very little loss. However, they catch and scatter the high-angle light rays that would otherwise cause glare.
- The Result: The light source appears less intense and more uniform, significantly improving visual comfort. The best part is the efficiency trade-off is minimal. At Besenled, our pole lights with optional comfort diffusers still achieve over 130 lm/W, easily meeting Energy efficiency6 targets for clients in North America who need DLC certification.
When to Specify a Diffuser
A diffuser isn't needed for every project. But for certain applications, it's the perfect tool to solve a specific problem.
- Pedestrian-Heavy Areas: In town centers or mixed-use developments, where people are walking near light poles, a diffuser reduces discomfort glare.
- Low Mounting Heights: When poles are shorter (under 8 meters), the light source is closer to the viewer's eye, making glare more pronounced. A diffuser is highly effective here.
- Adjacent to Windows: For roads next to homes or hotels, a diffuser helps soften the light spill, reducing complaints from residents.
Using a diffuser always reduces luminaire efficacy by at least 20%.False
While old opal diffusers were very inefficient, modern micro-prismatic lenses typically reduce efficacy by only 5-10% while significantly improving visual comfort.
Diffusers work by absorbing unwanted light.False
Advanced diffusers don't primarily absorb light; they redirect it. They scatter high-angle glare-causing light into less problematic angles, preserving most of the total lumen output.
How Does Adaptive Lighting Provide Comfort and Reduce Glare?
Roads are brightly lit even when empty, wasting energy and causing unnecessary glare. This static approach is inefficient and outdated. Adaptive lighting offers a dynamic, smarter solution.
Absolutely. Smart controls7 with scheduled dimming profiles can lower light levels during low-traffic hours (e.g., after midnight), which significantly reduces perceived glare. Combining this with warmer CCTs (3000K or less) further enhances visual comfort for drivers and residents.
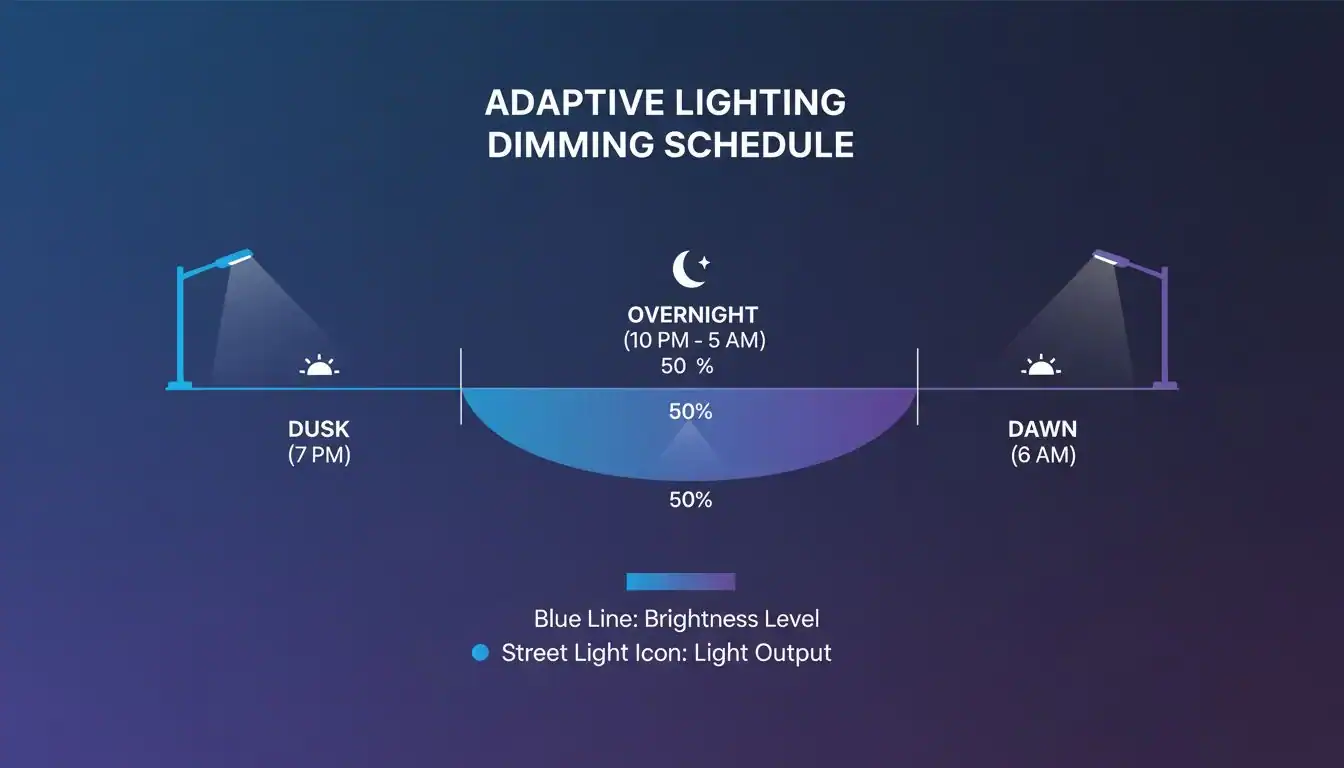
For my most forward-thinking clients, like developers building smart cities in South Asia or upgrading infrastructure in the US, adaptive lighting is the ultimate solution. It addresses glare, saves energy, and minimizes environmental impact all at once. It’s about providing the right amount of light, only when and where it’s needed.
Implementing Smart Dimming Profiles
The concept is simple. Most roads don't need 100% light output at 2 AM. Using a control system like DALI or even a simple 0-10V driver with a timer, we can program a dimming schedule.
- Example Schedule:
- 7 PM - 11 PM: 100% brightness during peak traffic.
- 11 PM - 5 AM: Dim to 50% or 30% during low-traffic hours.
- 5 AM - Sunrise: Return to 100% for the morning commute.
This simple change can cut energy use by 30-40% and dramatically reduces glare when the ambient environment is at its darkest. It's a feature we build into our pole lights, ensuring they are ready for integration with city-wide control networks.
The Role of Correlated Color Temperature (CCT)
Glare isn't just about brightness; it's also about color. The harsh, blue-white light (5000K or higher) that was popular in early LEDs is rich in blue wavelengths, which scatter more in the human eye and contribute to the perception of glare. For nighttime applications, warmer CCTs are better.
- 3000K (Warm White): This is an excellent choice for most roadways. It provides good color rendering but feels much more comfortable and less glaring than cooler options.
- 2700K or 2200K (Very Warm): These are ideal for residential streets or environmentally sensitive areas. They have very low blue light content, which is better for nocturnal wildlife and reduces sky glow.
By combining a 3000K CCT with an adaptive dimming schedule, you create a lighting system that is safe, comfortable, efficient, and environmentally responsible.
Dimming streetlights to 50% cuts visibility in half.False
The human eye perceives brightness logarithmically, not linearly. Dimming a light's power to 50% results in a perceived brightness of about 70-75%, which is often sufficient for low-traffic periods while significantly reducing energy and glare.
Warmer CCT light (e.g., 3000K) is less effective for roadway visibility than cooler CCT light (e.g., 5000K).False
For the light levels used in street lighting (mesopic vision), the eye is highly sensitive to the spectrum provided by 3000K LEDs. Visibility and safety are maintained, while comfort is greatly improved.
What Are the Quickest Answers to Your Glare Questions?
You have a project deadline and need fast, reliable answers. You can't afford to get bogged down in complex standards. Here are direct answers to the most common questions I hear.
This section provides quick, actionable answers to help you make informed decisions. It covers the fastest fixes, translating standards, the truth about diffusers, comparing metrics, and the safety of smart dimming.
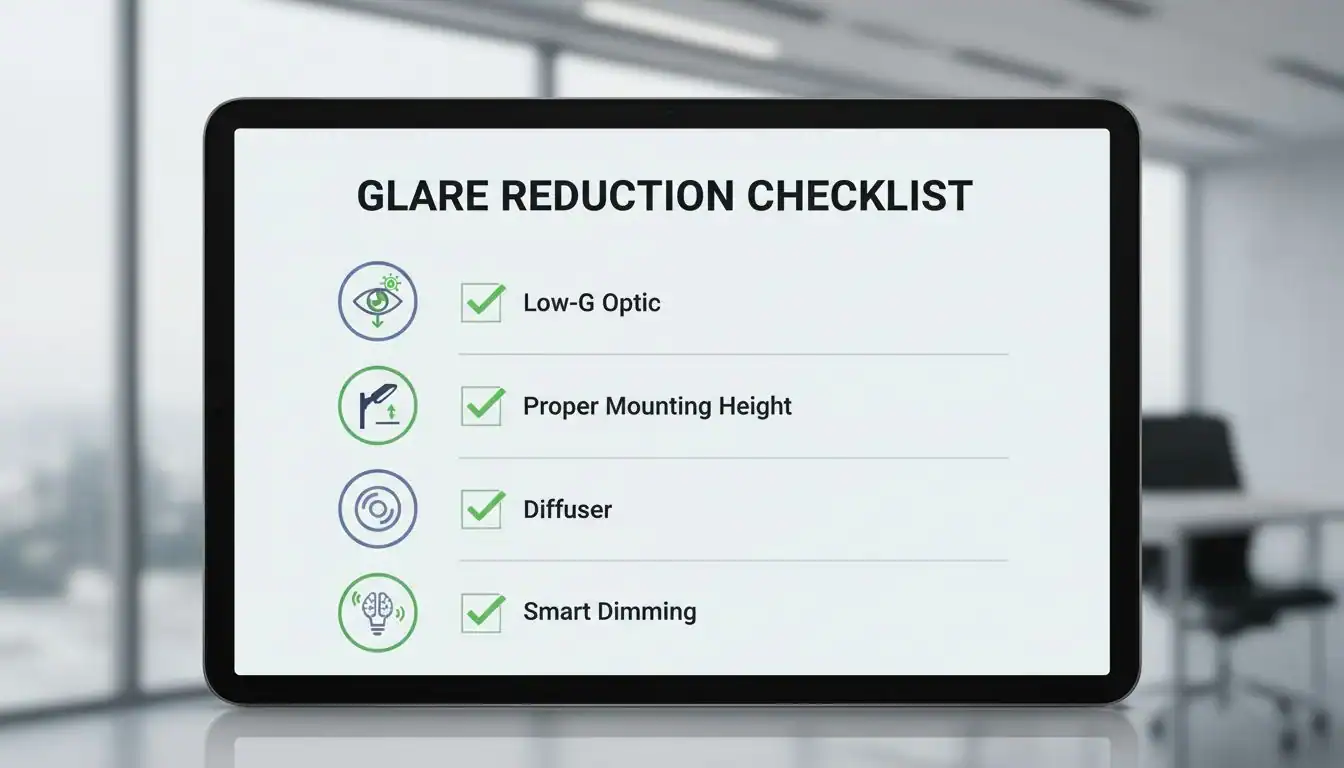
In my role, I act as a partner, not just a supplier. My goal is to give clients like you the clarity needed to specify the right product and design. Let's tackle these common questions head-on.
What’s the fastest way to cut streetlight glare?
The single fastest way is to select a luminaire with the right optic from the start. Specifically, choose a luminaire with a low BUG Glare rating (G1 or G2) and an asymmetric distribution (e.g., Type II or III). This prevents the high-angle light that causes glare before it even leaves the fixture. If you're retrofitting, replacing an old cobra head with a modern, full cut-off, low-G LED luminaire will provide an immediate and dramatic reduction in glare.
How do EN 13201 TI limits translate into design choices?
Think of it as a simple balance. The standard gives you a maximum TI percentage (e.g., 15%). Your design choices—mounting height, pole spacing, and luminaire selection—are the levers you pull to stay under that limit. A higher mounting height is your most powerful tool to lower TI. Closer spacing and using luminaires that limit high-angle light are also key. It translates directly to: "Mount lights higher and/or closer together to meet the rules."
Do diffusers reduce efficiency too much?
No, not anymore. Modern micro-prismatic diffusers are highly efficient, typically reducing lumen output by only 5-10%. The significant improvement in visual comfort and glare reduction is well worth this minor trade-off, especially in pedestrian areas or locations near residential windows. It's a small price for a much better lighting experience.
BUG vs. UGR: Which should I use?
Use BUG for outdoor and roadway lighting. Use UGR (Unified Glare Rating) for interior lighting. BUG measures the light escaping the luminaire in different directions (Backlight, Uplight, Glare). UGR, on the other hand, is a formula-based calculation that predicts discomfort glare for an observer at a specific position inside a room. They are designed for completely different environments and are not interchangeable.
Can smart dimming reduce glare safely?
Yes, absolutely. It is both safe and highly effective. Safety standards for road lighting are based on traffic volume. By dimming lights during periods of very low traffic (like from midnight to 5 AM), you are simply matching the light level to the reduced safety requirement. The reduction in brightness directly lowers perceived glare and saves significant energy without compromising safety for the few drivers on the road.
UGR is the primary metric for controlling glare in roadway lighting.False
UGR (Unified Glare Rating) is the standard for interior applications like offices and schools. The correct metrics for roadway lighting are BUG ratings (specifically the G value) and Threshold Increment (TI).
Smart dimming schedules must be approved by local transportation authorities.True
In many regions, any deviation from standard lighting levels, including adaptive dimming, must follow national or local guidelines and may require approval to ensure safety standards are met at all times.
Conclusion
Effectively reducing roadway glare is about smart design choices. Prioritize low-glare optics, design to TI standards, use modern diffusers where needed, and implement adaptive controls for ultimate comfort and efficiency.
References
-
Understanding glare is crucial for improving safety and comfort in roadway lighting. ↩
-
BUG ratings help classify luminaires for optimal glare control and driver comfort. ↩
-
Asymmetric optics can significantly reduce glare and improve lighting efficiency. ↩
-
Using the right software can help ensure compliance with glare standards. ↩
-
These advanced lenses improve visual comfort while maintaining high efficiency. ↩
-
Improving energy efficiency often goes hand-in-hand with reducing glare and enhancing safety. ↩
-
Smart controls optimize lighting levels, enhancing comfort and reducing energy waste. ↩