How Can You Save Energy on Outdoor Lighting Without Triggering Safety Complaints?
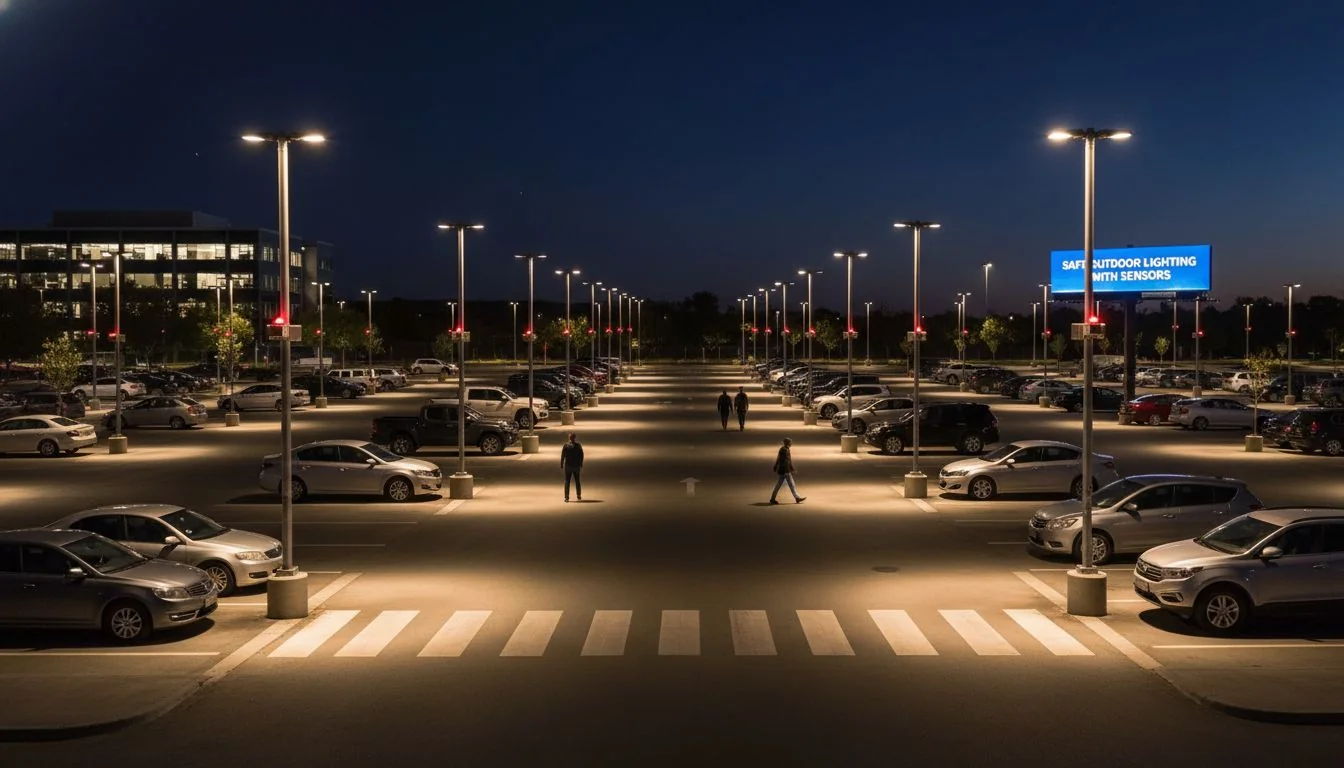
Tired of balancing high energy bills and constant safety complaints? Your lighting control strategy might be the problem. Let's fix that without compromising on safety or your budget.
The key is a layered strategy. Use photocells1 for basic dusk-to-dawn light, schedules for predictable traffic, and occupancy sensors (PIR/microwave) for on-demand brightness. This approach ensures areas are always safely lit while maximizing your energy savings and stopping complaints before they start.

I've seen many projects struggle with this balance. A client in North America was getting constant complaints about "dark spots" in their new parking garage, even with our new LED lights. The problem wasn't the lights; it was the control strategy. They were trying to save too much, too fast, which created anxiety for users. Getting this right is more than just picking a sensor; it's about designing a system that people trust. Let's break down how to build that trust and still hit your energy targets.
Smart lighting systems can reduce energy consumption by up to 80%.True
Combining LEDs with sensors and schedules allows for dimming and on-demand lighting, drastically cutting energy use compared to always-on HID lamps. Source: U.S. Department of Energy.
Photocells alone are the most effective energy-saving tool.False
While photocells prevent daytime operation, they still run lights at 100% all night. Layering schedules and occupancy sensors provides much deeper savings.
How do photocells, PIR, and microwave sensors work together to cut energy yet keep streets safe?
Worried that smart controls create unsafe dark zones? A poorly designed system can. But a layered approach ensures constant safety while still saving significant energy for your business.
Combine photocells for basic dusk-to-dawn operation, schedules for predictable high-traffic times, and occupancy sensors2 (PIR/microwave) to instantly brighten areas when someone approaches. This multi-layer system eliminates "dark spot" complaints and guarantees safety while cutting costs.
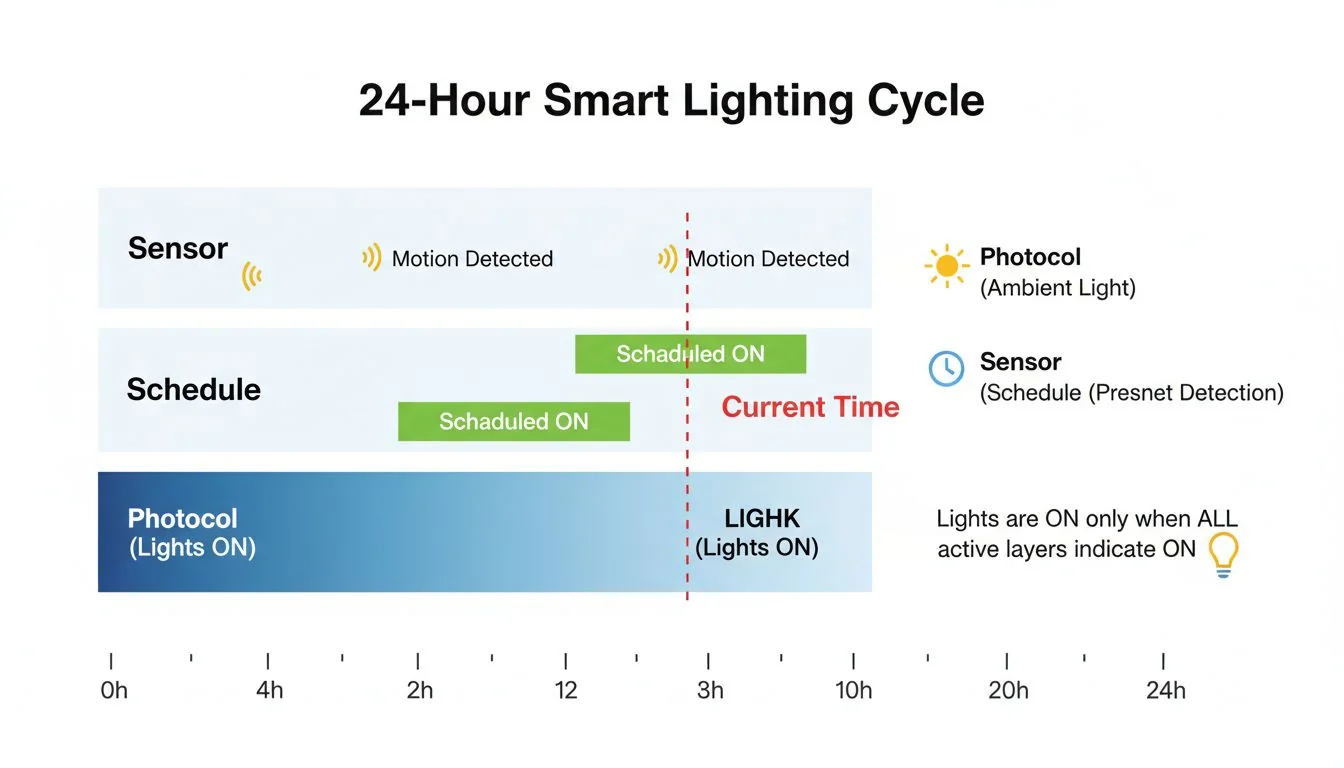
A successful lighting plan isn't about a single tool. It's about using multiple tools together. I always explain it to my B2B clients as building a system with three layers of intelligence. Each layer handles a different job, and together, they create a solution that is both safe and incredibly efficient.
The Foundation: Photocells for Basic Control
A photocell is the simplest control. It detects ambient light and tells your system to turn lights on at dusk and off at dawn. This is the first step to stop wasting energy during the day. But on its own, it runs your lights at 100% power all night, which is still a huge waste.
The Planner: Schedules for Predictable Patterns
This is where we add more intelligence. For a commercial property, you know when your peak hours are. We can program a schedule to dim the lights during predictable quiet times, like from 1 AM to 5 AM. This adds another layer of savings without any new hardware.
The Guardian: Occupancy Sensors for On-Demand Safety
This is the final, most dynamic layer. Occupancy sensors (PIR or microwave) detect actual people and vehicles. When motion is detected, the lights in that zone instantly go to 100% brightness. This ensures maximum safety exactly when and where it's needed.
Here’s how it works in a typical commercial parking lot:
| Time | Control Layer in Action | Light Level | Rationale |
|---|---|---|---|
| 6 PM - 11 PM | Photocell + Schedule | 100% | High traffic from shift changes and evening customers. |
| 11 PM - 5 AM | Photocell + Schedule + Sensor | 30% (dimmed) -> 100% on detection | Low traffic. Base light for security, full light for safety. |
| 5 AM - 7 AM | Photocell + Schedule | 100% | Early morning arrivals and shift changes. |
| 7 AM - 6 PM | Photocell | OFF | Daylight hours. No artificial light needed. |
The global smart lighting market is projected to reach $148.9 billion by 2034.True
The market is growing at a 10.3% CAGR, driven by the demand for energy efficiency and IoT integration in commercial and industrial buildings. Source: Polaris Market Research.
You must choose between schedules or sensors; they cannot work together.False
Modern lighting control systems are designed to layer these functions. A schedule can set the base dimming level, while a sensor can override it to full brightness upon motion detection.
What sensor should I choose for outdoor areas to avoid false triggers and complaints?
Are your lights turning on for swaying trees or passing cars on the next street? false triggers3 waste energy and annoy everyone. Choosing the right sensor technology is critical.
For open areas with a clear line of sight, use Passive Infrared (PIR) sensors. For complex spaces, areas with obstructions, or very cold climates, use microwave sensors4. For the highest reliability, a dual-tech sensor that combines both is often the best investment to stop complaints.

Choosing a sensor isn't just about detection; it's about accurate detection. I had a project with a developer in South America where they installed microwave sensors across a large parking lot. The problem was, the lot was next to a busy highway. The sensors were so sensitive they were picking up trucks on the highway, keeping the lights on all night and defeating the purpose of the system. We had to switch to a combination of shielded microwave sensors for the interior of the lot and PIR sensors5 along the perimeter. This is a common issue, and understanding the technology prevents these costly mistakes.
Understanding PIR (Passive Infrared) Sensors
PIR sensors don't see motion; they see heat. They are designed to detect the infrared energy (heat) emitted by a person or a car engine against the cooler background.
- Best For: Defined pathways, building entrances, and areas where you need a clear line of sight.
- Weakness: Their performance can drop on very hot days when the ambient temperature is close to body temperature.
Understanding Microwave Sensors
These sensors emit low-power microwave signals and measure the reflections. When an object moves, it changes the reflected signal (the Doppler effect), and the light is triggered.
- Best For: Large, open areas like parking lots, warehouses, and cold-weather climates. They can also "see" around corners and through thin materials like plastic light diffusers.
- Weakness: They can be too sensitive if not tuned properly, leading to false triggers from movement outside your target zone.
The Decision Matrix: PIR vs. Microwave
| Feature | PIR Sensor | Microwave Sensor | My Recommendation For... |
|---|---|---|---|
| Detection Method | Heat Difference | Motion (Doppler Shift) | PIR for direct paths; Microwave for complex areas. |
| Sensitivity | Affected by ambient temp | Not affected by temp | Microwave in very hot or cold climates. |
| False Triggers | Low (unless direct sun/vents) | Can be high (if not tuned) | PIR to avoid detecting motion through walls. |
| Coverage | Line-of-sight only | Can penetrate some materials | Microwave for areas with columns or obstructions. |
PIR sensor effectiveness can decrease on very hot days.True
PIR sensors work by detecting the difference between a moving object's heat and the background temperature. When the ambient temperature is close to human body temperature, this difference shrinks, reducing detection range.
Microwave sensors can detect motion through concrete walls.False
While microwave sensors can penetrate light materials like plastic, glass, and thin wood, they are blocked by dense materials like concrete and metal.
How do I set schedules and bi-level dimming for safety-critical routes?
Afraid that dimming lights on a critical path will lead to an incident or a complaint? Proper settings are the key. You can dim lights to save energy without making people feel unsafe.
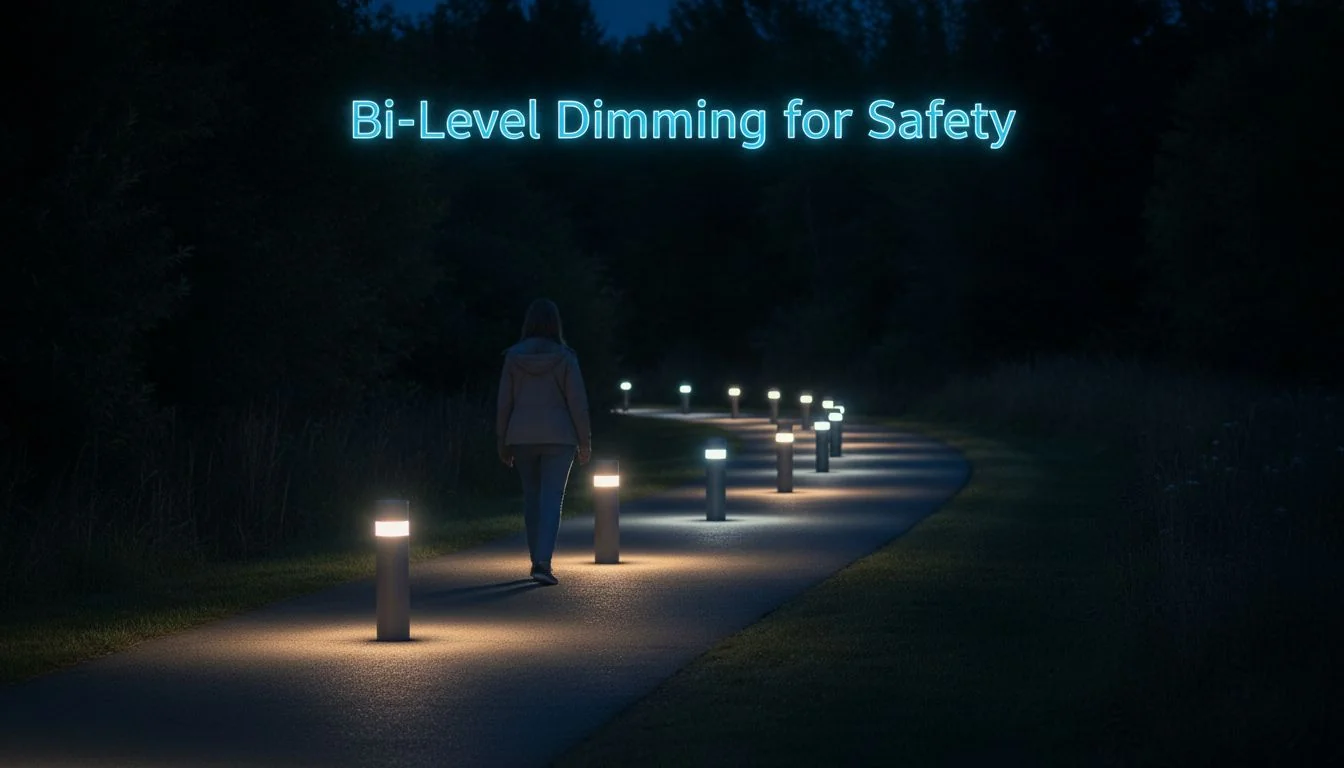
First, define your minimum acceptable light level based on local codes or IES standards (e.g., 0.5 foot-candles). Set this as your "low" level for bi-level dimming6. Then, set a timeout delay (30–120 seconds) that matches foot traffic speed to prevent "flicker anxiety."
This is where strategy becomes more important than technology. I work with clients like Somchai, a procurement director for a large developer in Thailand, to define these parameters before a single light is installed. It's about preventing complaints, not just reacting to them. We call it defining the "complaint threshold."
Step 1: Define Your Minimum Illuminance
Before you program anything, you must establish the absolute minimum light level you will allow in any area at any time. I always tell my clients to check their local municipal codes or the IES (Illuminating Engineering Society) recommendations. This isn't just a suggestion; it's a liability shield. This minimum level (e.g., 0.5 foot-candles for a parking lot) becomes your dimmed or "low" setting. It ensures security cameras remain effective and people never feel like they are in complete darkness.
Step 2: Zone Your Areas by Risk and Use
Not all areas of a property have the same safety requirements.
- High-Risk/High-Traffic Zones: Think of building entrances, ATM areas, and main pedestrian walkways. Here, I recommend a higher "low" level (e.g., 30-50% brightness) to provide a greater sense of security.
- Low-Risk/Low-Traffic Zones: These are the perimeter fences or the far corners of a parking lot. You can be more aggressive with energy savings7 here, dimming to 10-20% brightness.
Step 3: Set Timeouts to Match Human Behavior
A short timeout of 10-15 seconds is a common mistake. It can feel jarring, as if the lights are chasing a person and then abandoning them in the dark. This creates what I call "flicker anxiety." I find a delay of 30 to 120 seconds works best. The goal is to have the light stay on long enough for a person to feel comfortably within the next pool of light before the previous one dims.
The IES recommends a minimum of 0.5 foot-candles for most parking lot areas for safety.True
The Illuminating Engineering Society's RP-20-14 provides detailed recommendations for parking facility lighting, with minimum horizontal illuminance levels to ensure pedestrian safety and security.
Setting lights to 0% brightness in low-traffic areas is always the best way to save energy.False
While it saves the most energy, 0% brightness can eliminate visibility for security cameras and create a perception of being completely unsafe. A low dimmed level (10-20%) is often a better compromise.
Your Top Questions on Smart Lighting Controls Answered?
Still have lingering questions about dark spots, false triggers, or smart controls? You're not alone. Let's tackle the most common concerns I hear from my B2B clients.
The best way to prevent complaints is a proactive strategy. Use overlapping sensor zones, tune microwave sensitivity carefully, integrate with a central system for easy adjustments, and never rely on just one type of control.
These are the practical, in-the-field questions I get every week from facility managers and developers. The answers come from over 13 years of experience at Besenled, solving these exact problems on projects around the world.
What’s the best way to prevent “dark spot” complaints?
This is a design issue, not a hardware one. I solve this by designing systems with overlapping sensor detection zones. Before a person walks out of one sensor's range, they are already in the next one's. This creates a seamless "path of light" that follows them. Also, using bi-level dimming (e.g., 20% to 100%) instead of a simple on/off (0% to 100%) makes a huge psychological difference. No one ever feels they are walking into total darkness.
How do I reduce false triggers with microwave sensors?
This is all about tuning and placement. Most professional-grade microwave sensors from suppliers like us have adjustable sensitivity and range settings. For tricky areas, I always recommend using a sensor with a shielding accessory. This physically blocks the sensor's signal from detecting motion in unwanted directions, like an adjacent road or a neighboring property. Some advanced sensors also have logic to ignore small, repetitive movements, like a swaying tree branch.
Can I integrate sensors with smart controls?
Absolutely. This is where the real power and ROI come from. At Besenled, our systems use protocols like DALI or Wi-Fi to connect every light and sensor to a central controller. This allows a facility manager to monitor energy use, adjust schedules8, and even override settings for an entire property from a single dashboard. This is critical for our large-scale clients who manage multiple sites.
Do photocells alone save enough?
No, not anymore. They were a great innovation when the only alternative was leaving lights on 24/7. But they only save energy during the day. With energy costs rising and corporate ESG goals becoming more important, leaving lights at 100% all night is a huge waste. By layering schedules and occupancy sensors on top of a photocell, you can easily cut your nighttime energy consumption by another 50-80%.
DALI (Digital Addressable Lighting Interface) allows for individual control of each light fixture.True
DALI is a protocol that enables two-way communication between fixtures and a central controller, allowing for individual dimming, scheduling, and status monitoring.
All smart sensors can be integrated into any building management system (BMS).False
Integration depends on compatible communication protocols (e.g., DALI, BACnet, Wi-Fi). It's crucial to verify compatibility between the lighting controls and the existing BMS before purchasing.
Conclusion
A smart lighting strategy isn't just about sensors. It's about layering controls—photocells, schedules, and sensors—to create a system that is safe, efficient, and free of complaints.
References
-
Photocells are essential for automating outdoor lighting, ensuring energy efficiency by turning lights on and off based on ambient light. ↩
-
Occupancy sensors enhance safety by providing on-demand lighting, ensuring areas are well-lit when needed, thus preventing accidents. ↩
-
Addressing false triggers is crucial for maintaining energy efficiency and user satisfaction in outdoor lighting systems. ↩
-
Microwave sensors offer advanced detection capabilities, making them suitable for complex outdoor environments where traditional sensors may fail. ↩
-
PIR sensors are effective for detecting motion and ensuring lights are activated only when needed, enhancing safety and efficiency. ↩
-
Bi-level dimming provides a balance between energy savings and safety, ensuring adequate lighting without creating dark spots. ↩
-
Understanding energy-saving strategies can significantly reduce costs while maintaining safety and visibility in outdoor spaces. ↩
-
Implementing schedules allows for dimming during low-traffic times, maximizing energy efficiency without compromising safety. ↩