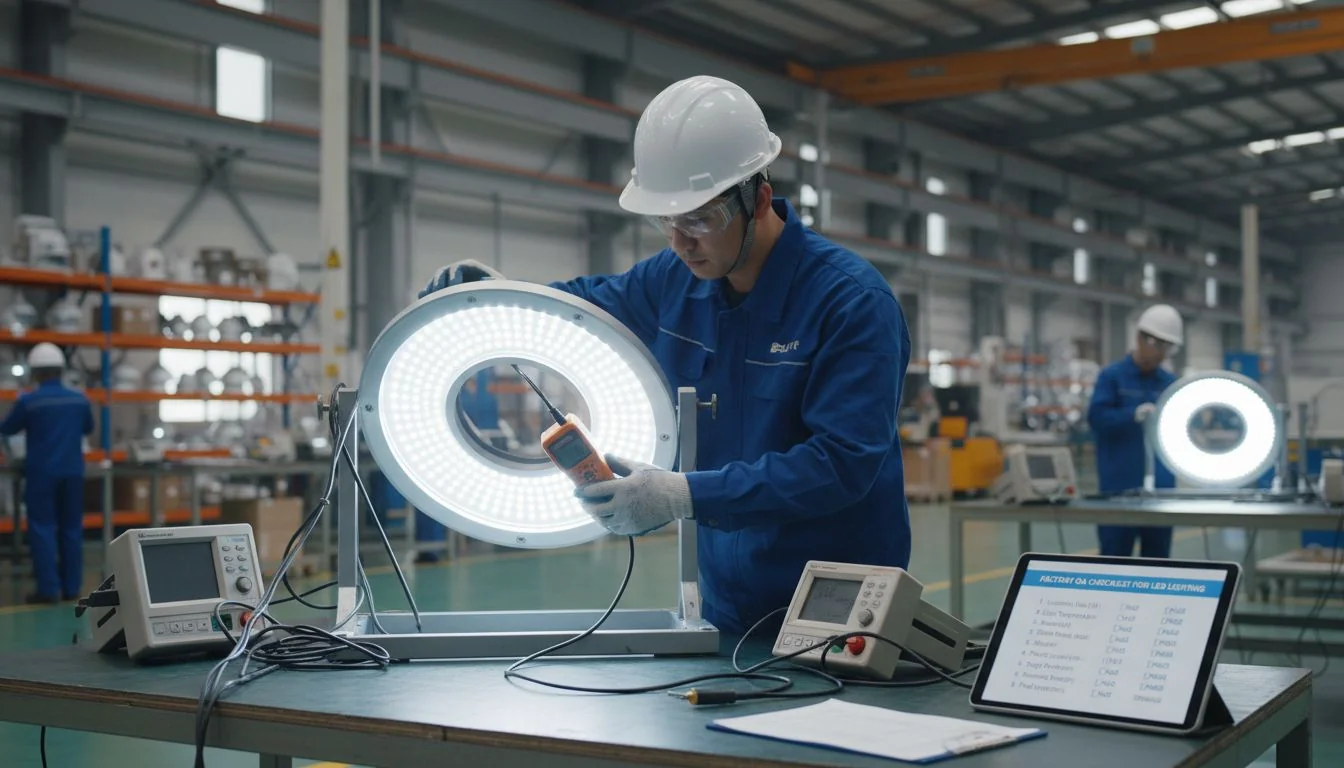
Receiving a batch of LED fixtures with hidden defects is a project nightmare. These failures cause delays, cost overruns, and damage your reputation, forcing you to deal with angry clients.
A truly effective QA checklist goes beyond basic checks. It must include specific electrical safety tests like Hi-Pot1, endurance tests like burn-in, environmental stress tests like salt-spray for outdoor products, and precise photometric measurements for color uniformity. This ensures reliability from day one.
As someone who has spent over 13 years in the LED lighting industry, I've seen firsthand how a generic checklist can let critical flaws slip through. A client of mine, a large developer in Thailand, once sourced lights from another supplier for a high-end shopping mall. The lights looked great initially, but several failed within a month due to poor insulation that wasn't caught in production. This is why at Besenled, we don't just tick boxes. We build our QA process around catching the failures that others miss. It’s about understanding how and why products fail and then designing a test to find that specific weakness before it leaves my factory. Let's break down the four essential tests that should be on every serious buyer's checklist.
Over 30% of early LED failures are due to driver or insulation issues that a basic functional test won't catch.True
Industry data and failure analysis reports frequently point to the power supply (driver) and electrical insulation as primary points of failure in the initial operational phase of an LED product's life.
All LED lights require a 24-hour burn-in test.False
While a longer burn-in is better, it's not always practical or necessary. A 4-8 hour test is often sufficient for standard commercial products to catch most infant mortality failures, balancing quality assurance with production efficiency.
What is a Hi-Pot test for LED lighting, and what voltage should factories use?
An electrical short in a luminaire is a serious fire hazard. Standard continuity tests might miss weak or crushed insulation that can fail later under electrical or environmental stress, putting people at risk.
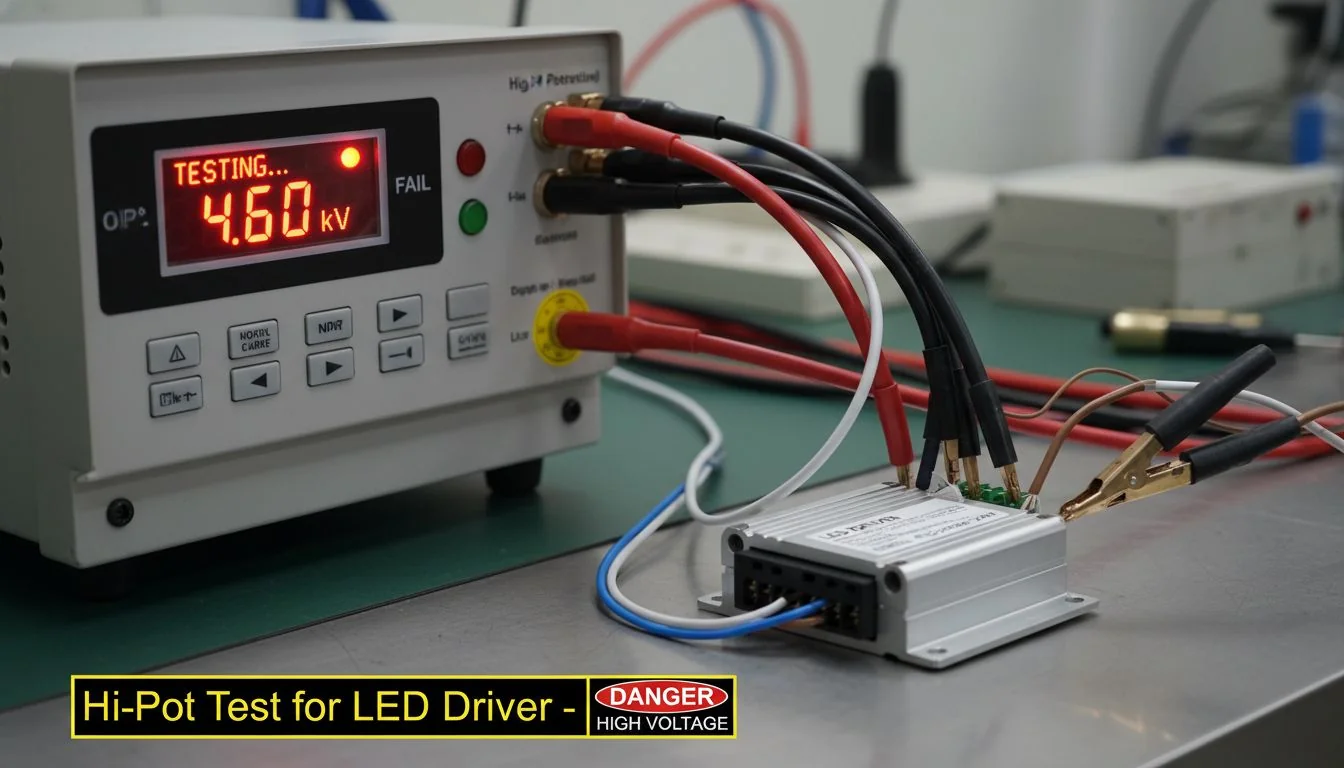
A Hi-Pot (High Potential) test verifies a fixture's electrical insulation by applying a high voltage between its conductive parts and the chassis. For most Class I products, an AC voltage of (2 x Operating Voltage + 1000V) is standard. For sensitive circuits, a DC Hi-Pot is a better choice.
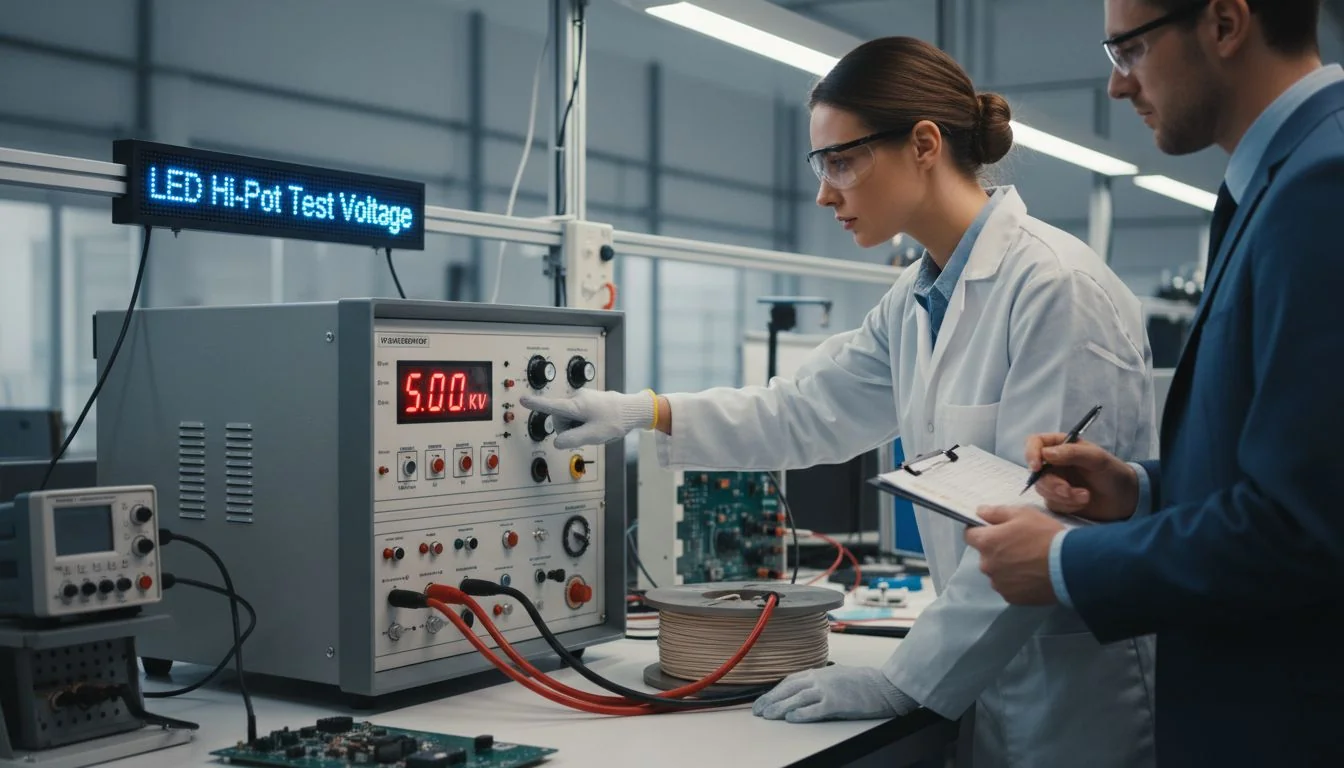
The Hi-Pot test is non-negotiable for safety. It's designed to stress the insulation beyond its normal operating conditions to expose any weaknesses. A product that can't pass a Hi-Pot test is a liability. But simply doing the test isn't enough; you have to do it right. The key is choosing the right method and setting the parameters correctly.
AC vs. DC Hi-Pot Testing
The choice between AC and DC Hi-Pot testing depends on the product's design. I generally recommend AC Hi-Pot for general acceptance, as it stresses the insulation in both polarities. However, for products with high capacitance, like those with complex EMI filters or smart controls, an AC test can cause high reactive currents, leading to false "nuisance" trips. In these cases, a DC Hi-Pot test is superior because it doesn't have this issue.
| Test Type | Best For | Key Consideration |
|---|---|---|
| AC Hi-Pot | General purpose, Class I luminaires | Stresses insulation in both polarities, simulating real-world conditions. |
| DC Hi-Pot | Sensitive electronics, high-capacitance circuits | Avoids nuisance trips from reactive current; applies stress in one direction. |
Setting the Right Parameters
The voltage is determined by safety standards like IEC 605982-1. But the most critical setting is the leakage current trip level. If it's too high, you'll miss marginal insulation. If it's too low, you'll get false failures. My rule is to measure the average leakage of several known-good units and set the trip level just slightly above that. This catches the outliers without stopping production unnecessarily. Most importantly, we always perform the Hi-Pot test after any environmental stress tests (like humidity, vibration, or IP tests) to find insulation that weakened under pressure.
A Hi-Pot test is always destructive to the LED product.False
A Hi-Pot test is a stress test. It is non-destructive for a product with proper insulation. It is only 'destructive' to a faulty product that would have been a safety hazard anyway, which is the entire point of the test.
Hi-Pot testing should be performed after environmental stress tests like humidity or vibration.True
Performing the Hi-Pot test after environmental stress is crucial because it can reveal insulation weaknesses, such as cracks or moisture absorption, that only appear after the product has been physically or environmentally stressed.
How long should LED products be burn-in tested to catch early failures?
Early product failures are frustrating and incredibly costly. A high bay light that goes dark in a warehouse just weeks after installation not only requires replacement but also erodes your client's trust.
A burn-in test3 runs products under full power for a set time to trigger "infant mortality" failures before they ship. For most commercial LED fixtures, a 4 to 8-hour burn-in is a practical minimum. For critical applications, this can be extended to 24-48 hours.
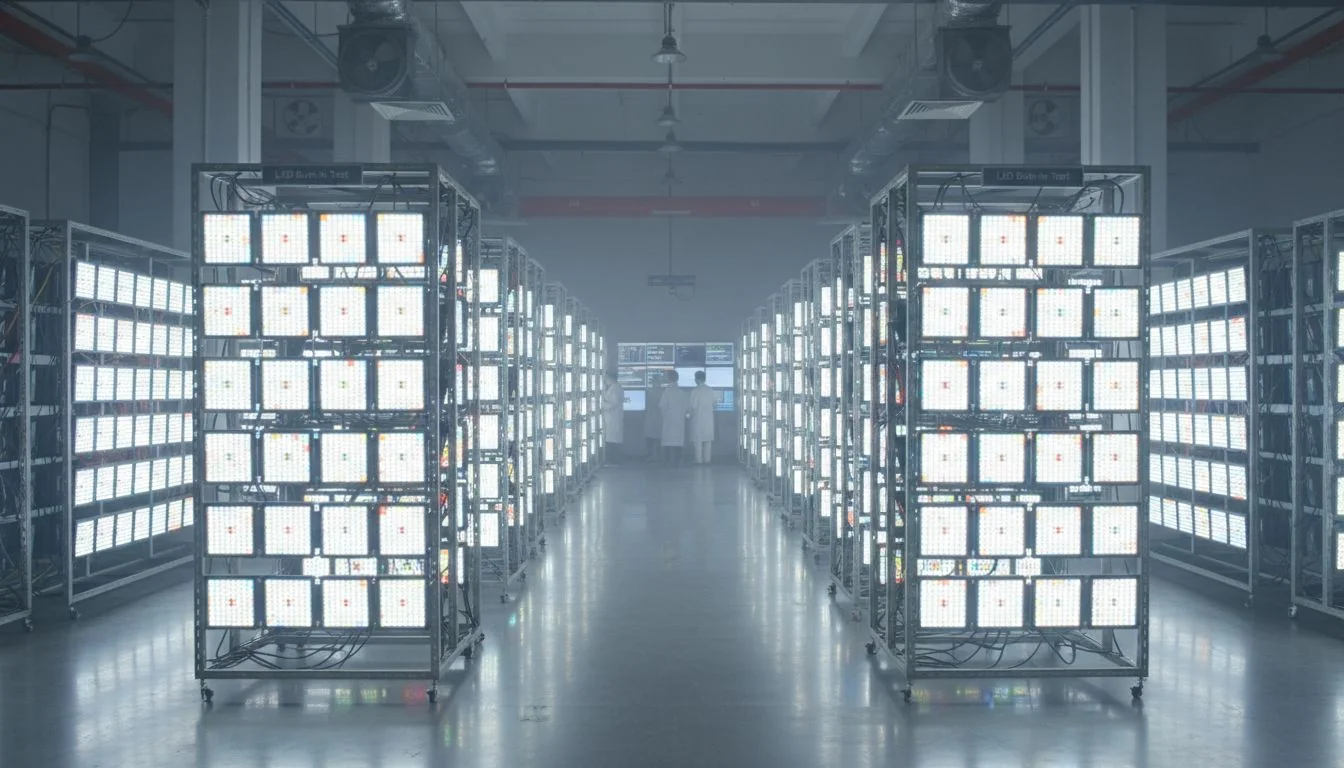
The burn-in test simulates the first hours of a product's life, which is when most manufacturing-related defects will show up. This includes issues like bad solder joints, faulty driver components, or improperly seated LEDs. I've found that a significant portion of field returns can be eliminated with a disciplined burn-in process. It's a simple but powerful way to increase the reliability of every batch.
The "Bathtub Curve" and Burn-In
Electronic components follow a reliability pattern known as the "bathtub curve." There's a high rate of failure at the very beginning (infant mortality), a long period of low, random failures, and then an increase in failures as the product wears out. The burn-in test is designed specifically to get past that initial high-failure-rate period.
A Practical Burn-In Protocol
The duration of the test should match the product's application. A decorative panel might only need a few hours, but a mission-critical explosion-proof light for an oil rig needs a much longer, more rigorous test.
| Product Category | Recommended Minimum Burn-In | Rationale |
|---|---|---|
| Standard Indoor (Panels, Tubes) | 4 Hours | Catches most common component and assembly defects. |
| Industrial/Commercial (High Bays, Floods) | 8 Hours | Higher power and thermal stress require a longer test. |
| Critical Application (Explosion-Proof, Solar) | 24-48 Hours | Maximum reliability is required; failures have severe consequences. |
At Besenled, we also build a "kill chart" for defects found during burn-in. If we see a spike in failures of a certain driver IC or a loose earth connection, we immediately contain the affected batch and launch a root cause analysis. This data is gold. It helps us refine our designs and assembly processes continuously.
A 2-hour burn-in test is sufficient for all LED products.False
A 2-hour test may catch some immediate power-on failures, but it is generally too short to effectively screen for many infant mortality issues, which can take several hours of thermal and electrical stress to manifest.
Burn-in testing helps identify weak components and manufacturing defects before the product reaches the customer.True
This is the primary purpose of burn-in testing. By operating the device under stress, it accelerates early failures, allowing them to be caught and corrected at the factory, improving overall field reliability.
Do outdoor LED fixtures need salt-spray testing, and what’s a practical protocol?
You’ve installed beautiful new pole lights along a coastline, only to see them covered in rust and failing within a year. This corrosion not only looks terrible but also compromises the fixture's structural and electrical integrity.
Yes, any outdoor fixture intended for coastal, marine, or heavy industrial areas absolutely needs salt-spray testing4. A practical protocol involves exposing the fixture to a 5% salt solution fog for at least 96-240 hours, followed by a full functional and safety inspection.
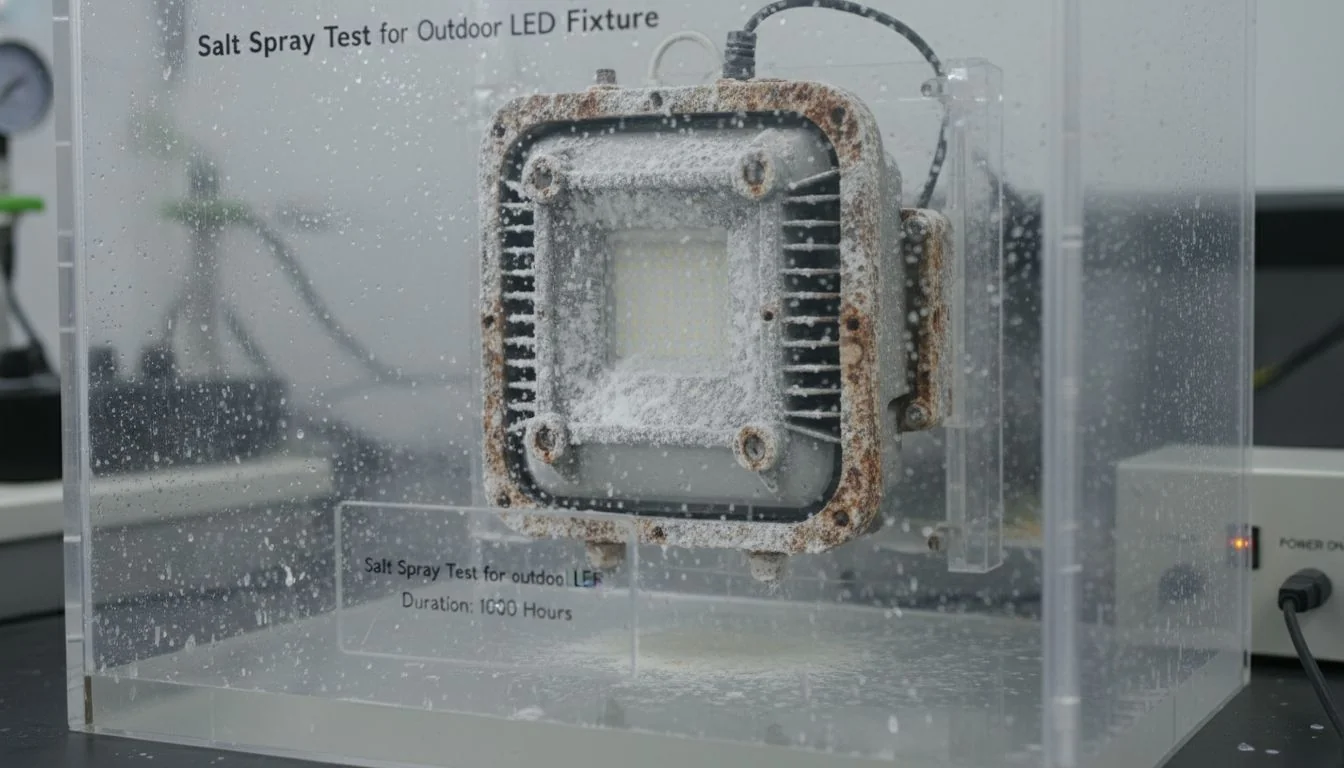
An IP rating only tells you if a fixture can keep water out; it tells you nothing about its ability to resist corrosion. For clients in regions like Southeast Asia, the Middle East, or coastal areas of North and South America, corrosion resistance is just as important as waterproofing. A salt-spray test is the only way to prove a fixture's long-term durability in these harsh environments.
A Step-by-Step Salt-Spray Protocol
The industry standard is ASTM B117, but how you apply it matters. Here is the practical protocol we use at Besenled to ensure our outdoor products, from flood lights to wall packs, can withstand the elements.
- Preparation: The test sample is cleaned. Any non-permanent markings are removed. It is a complete, final-assembly fixture.
- Exposure: The fixture is placed in a sealed chamber. A 5% sodium chloride solution is atomized into a dense fog at a constant temperature (typically 35°C). The duration varies based on the product's claims. A standard outdoor fixture might get 96 hours, while a marine-grade fixture could be tested for 1000 hours.
- Evaluation: After the test, the fixture is gently rinsed and dried. We then perform a multi-point inspection:
- Visual Check: Look for any signs of rust, pitting, or blistering on the housing, screws, and brackets.
- IP Re-Test: We often re-run an IP water ingress test to see if corrosion has compromised the seals.
- Hi-Pot Re-Test: We perform another Hi-Pot test to ensure the electrical insulation is still sound.
- Functional Check: Finally, we power on the fixture to confirm it still works perfectly.
A fixture that passes this full sequence is one you can confidently install anywhere in the world.
An IP67 rating means a fixture is fully protected against corrosion.False
IP ratings only measure protection against the ingress of solid particles and water. They do not measure a material's resistance to chemical corrosion from salt, acid rain, or other environmental chemicals.
Salt-spray testing is essential for verifying the long-term durability of coatings and materials on outdoor fixtures.True
This test simulates accelerated aging in a corrosive environment, providing critical data on how well the paint, powder coating, and base materials (like aluminum or steel) will hold up over time.
How do you measure color uniformity across LED strips or luminaires?
You install a long run of LED strip lighting in a high-end retail space, but the color shifts from warm white at one end to a cool, bluish-white at the other. This inconsistency looks unprofessional and ruins the entire lighting design.
color uniformity5 is measured using a spectroradiometer at multiple points across a luminaire or strip. The data is analyzed for consistency in Correlated Color Temperature (CCT) and its deviation from the target, often defined by a MacAdam ellipse (e.g., within a 3-step ellipse).
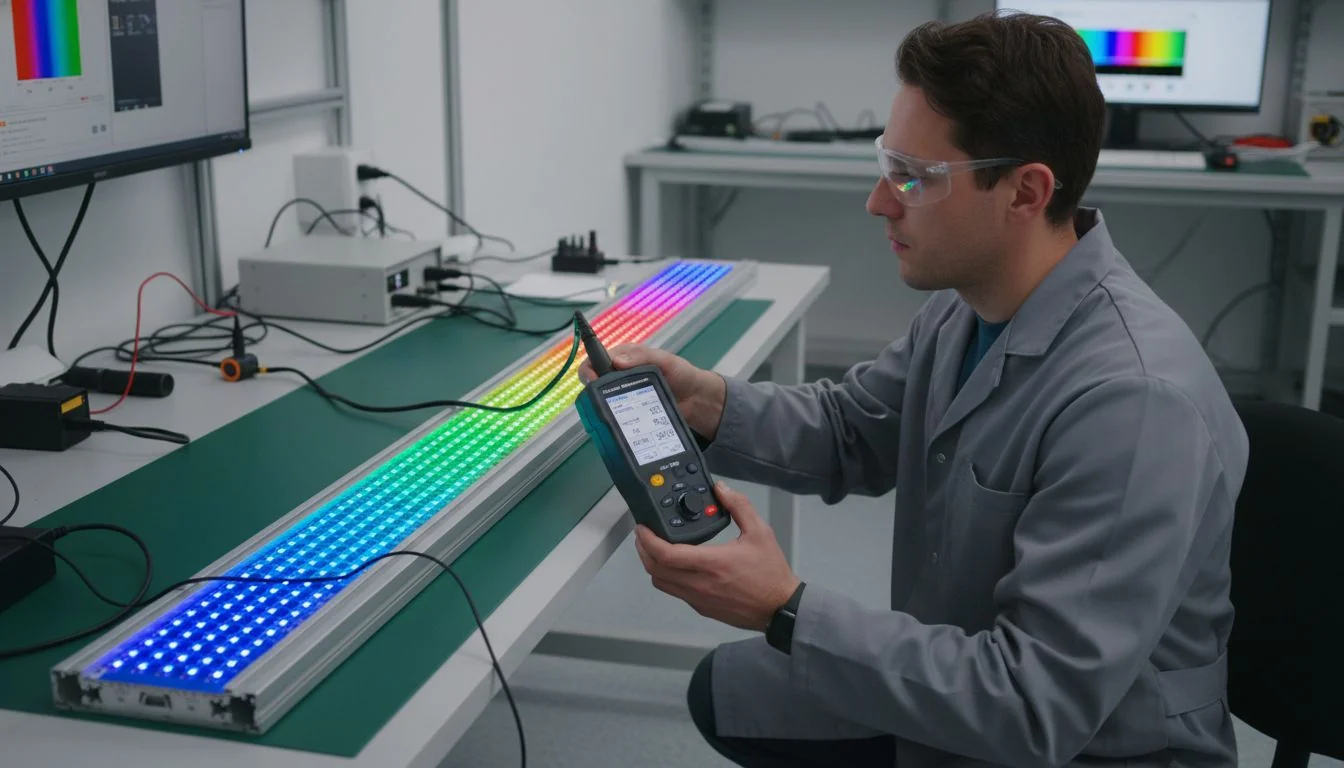
For applications where visual consistency is key—like in retail, hospitality, or architectural lighting—color uniformity is not a luxury. It's a core performance requirement. The human eye is very good at detecting even slight differences in color, especially when lights are placed side-by-side. That's why we have strict processes for both binning our LEDs and mapping the uniformity of the final product.
The Tools and the Process
Ensuring color uniformity is a two-part process: controlling the inputs (the LEDs) and verifying the output (the finished luminaire).
- LED Binning: We only source LEDs from a very tight "bin." LED manufacturers sort their production into bins based on color, flux, and forward voltage. Using LEDs from a single, narrow bin is the first step to consistency. We lock this in our Bill of Materials (BOM), and any change requires a full re-qualification.
- Uniformity Mapping: For the final product, especially long LED strips, we use a spectroradiometer6 to take measurements at set intervals (e.g., every meter). This tells us if there are any shifts in color along the length.
Understanding MacAdam Ellipses
A MacAdam ellipse describes a region on the CIE chromaticity diagram where the human eye can't distinguish a color difference. A smaller ellipse means tighter color control.
| MacAdam Step | Visual Difference | Typical Application |
|---|---|---|
| 1-Step | Imperceptible | Museum and art gallery lighting. |
| 3-Step | Barely perceptible | High-end architectural and retail lighting. |
| 5-Step | Noticeable if side-by-side | General commercial and industrial lighting. |
For a project requiring high consistency, we guarantee that all fixtures will be within a 3-step MacAdam ellipse. This is a claim we can back up with measurement data for every batch.
All LEDs with the same CCT (e.g., 3000K) will look identical.False
CCT is an average. Two LEDs can have the same 3000K CCT but have different tints (e.g., one slightly pinkish, one slightly greenish). Color consistency is accurately defined by MacAdam ellipses, not just CCT.
Tight LED binning and uniformity mapping are essential for ensuring consistent color in linear lighting projects.True
Binning ensures the source LEDs are consistent, while mapping the final product verifies that the assembly process and other components haven't introduced color shifts, guaranteeing a uniform appearance from end to end.
What are the key questions about factory QA for LED lighting?
You have questions about quality assurance but often get confusing or vague answers from suppliers. This uncertainty makes it difficult to trust that your products are being built to the standards you and your clients expect.
Key questions cover relevant standards (like IEC 60598), test procedures (like Hi-Pot), sampling plans (like AQL), and how QA data supports marketing claims (like a 50,000-hour lifespan). Getting clear answers builds confidence in your supply chain.
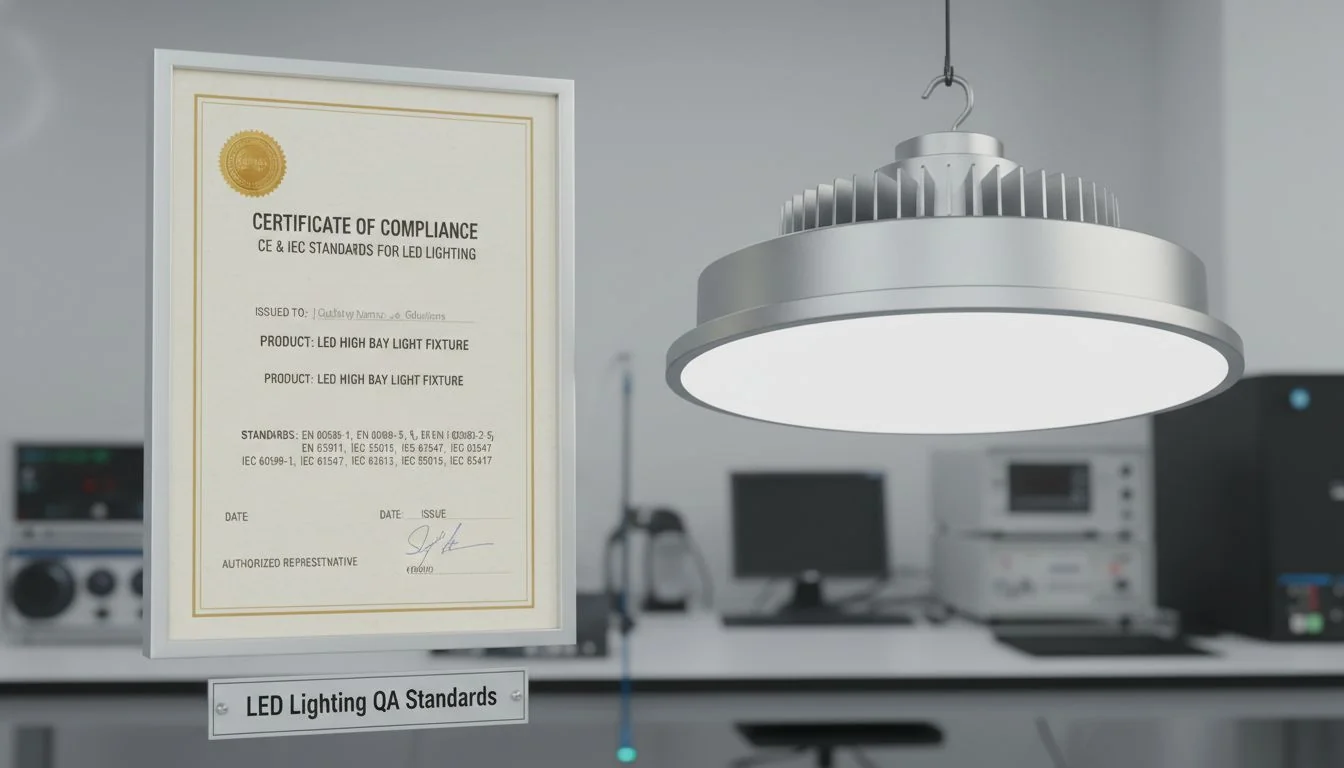
Over the years, I've found that the best partners are the ones who are transparent about their QA processes. They welcome these tough questions because they are proud of the systems they've built. Here are the answers to the most common questions I get from discerning buyers like you.
Which standards are relevant to factory QA?
Several key international standards form the backbone of a good QA program. The most important one for safety is IEC 60598, which covers general requirements and testing for luminaires. For performance, we rely on IES LM-79 (testing electrical and photometric properties) and IES LM-80 (measuring lumen maintenance of LED sources). For environmental testing, ASTM B117 (salt spray) and the IP code (IEC 60529) are critical.
Is Hi-Pot destructive?
This is a common misconception. A Hi-Pot test is a stress test, not a destructive one for a well-made product. If a product has sound insulation, it will pass the test without any damage. The test is only "destructive" for a faulty unit with weak insulation—and that's exactly the point. It destroys a product that would have been a safety hazard, preventing it from ever reaching the field.
What sampling plan should we use?
It's not always feasible to test 100% of products for every single parameter. That's where statistical sampling plans like AQL (Acceptable Quality Limit) come in. Based on standards like ISO 2859, AQL allows you to define the maximum number of defective units that would be acceptable in a batch. For example, for a batch of 1,000 high bays, you might inspect 80 units and accept the entire batch if you find 2 or fewer major defects.
How do you link QA to labeling and claims?
Every claim on a product's label or datasheet must be backed by QA test data.
- "50,000-Hour Lifespan": This must be supported by LM-80 data from the LED supplier and thermal testing of the complete fixture.
- "IP66 Rated": This requires a passing test report from an IP dust and water ingress test.
- "3-Year Warranty": This is backed by our internal burn-in data, component stress testing, and field return analysis, giving us the confidence to stand behind our product.
AQL sampling means you are willing to accept defective products.True
The 'A' in AQL stands for 'Acceptable.' It is a statistical method that acknowledges that 100% perfection is not always commercially viable and defines a threshold for an acceptable number of defects in a given batch size.
A product's IP rating is determined by visual inspection.False
An IP rating must be verified through rigorous, standardized testing in a controlled environment, involving exposure to dust chambers and powerful water jets or submersion, not just a visual check.
Conclusion
A robust QA checklist with Hi-Pot, burn-in, salt-spray, and color tests isn't an expense. It's an investment in reliability, your reputation, and long-term partnerships. Don't settle for less.
References
-
Understanding Hi-Pot testing is crucial for ensuring electrical safety and product reliability in LED lighting. ↩
-
IEC 60598 is a critical standard for safety and performance in luminaires, ensuring compliance and reliability. ↩
-
Exploring burn-in testing can reveal how early failures are caught, enhancing product quality before reaching customers. ↩
-
Salt-spray testing is vital for assessing corrosion resistance, ensuring outdoor fixtures withstand harsh environments. ↩
-
Measuring color uniformity is key for maintaining aesthetic quality in lighting design, especially in retail and hospitality. ↩
-
Using a spectroradiometer is essential for verifying color consistency, a key factor in high-quality lighting applications. ↩