How can you eliminate 1-year street light failures with a practical checklist?
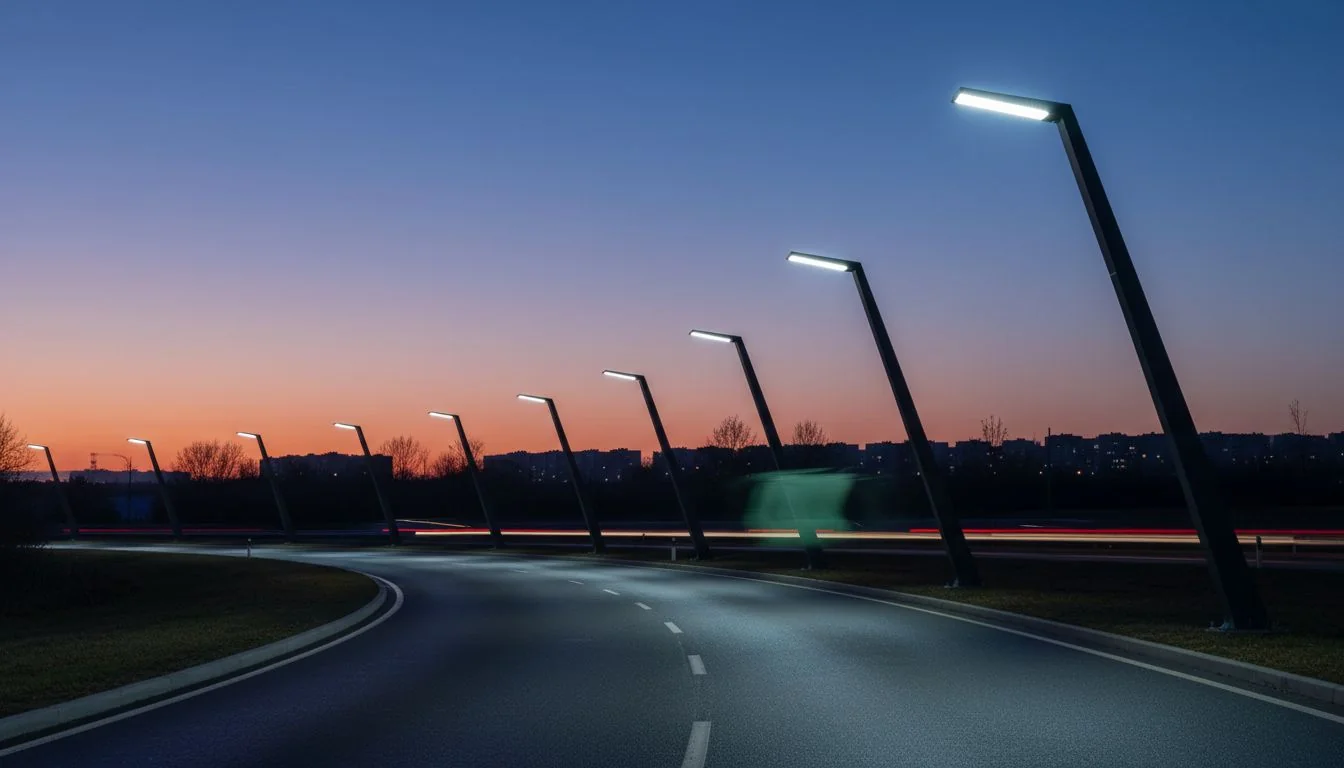
Your new street light project looks great, but then the failure reports start. It’s a costly headache that erodes profits and your reputation. You can stop this cycle.
To eliminate over 90% of first-year street light failures, you must proactively manage the three main causes: heat, surge, and moisture. This involves specifying correct thermal protection1, matching surge ratings to site conditions (ANSI C136.2), and demanding true IP66 sealing, all verified with simple pre-handover tests.
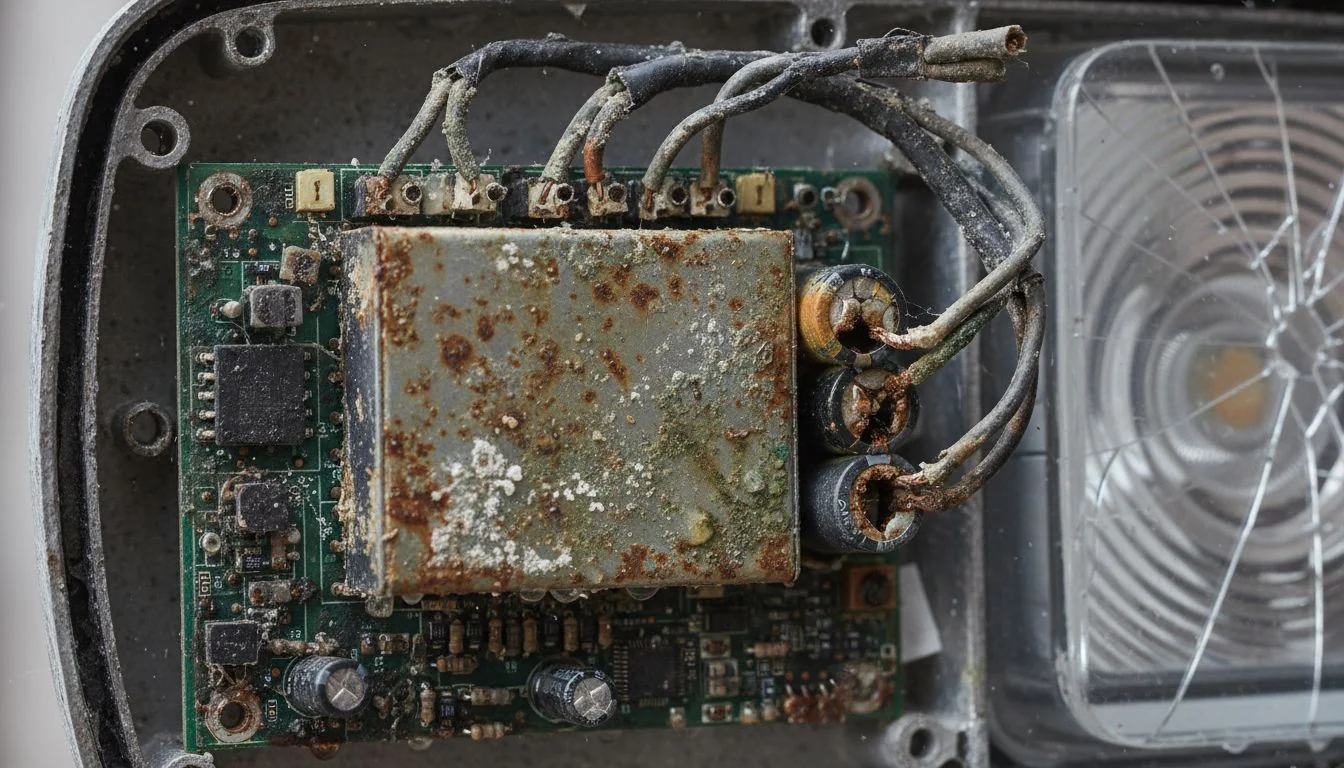
I've been in the LED lighting business for over 13 years, and I've seen the same story play out on countless projects. A contractor or developer invests heavily in a new LED street lighting system, expecting a 10-year lifespan. But within 12 months, a significant percentage of the lights are flickering, dimming, or dead. The maintenance costs explode, and everyone starts pointing fingers. The truth is, most of these early failures are not random. They are predictable and, more importantly, preventable.
It all comes down to tackling the three silent killers of outdoor luminaires: heat, electrical surges, and moisture. If you don't control these from the very beginning—at the specification stage—you are setting your project up for failure. In this guide, I'll give you the practical, field-tested checklists I use with my clients to ensure their projects are built to last. Let's dive in.
LED street lights can reduce energy consumption by up to 80% compared to traditional HID lighting.True
The high luminous efficacy of LEDs (120-140 lm/W) and their directional nature make them significantly more efficient than omnidirectional High-Intensity Discharge (HID) lamps.
All LED drivers have built-in 6kV surge protection.False
While many quality drivers do, it is not a universal standard. Cheaper drivers may have lower protection (2kV or 4kV), and the built-in protection is often insufficient for areas with high exposure to lightning or grid switching events.
What really causes first-year street light failures?
You've just completed a major installation, but the phone starts ringing. Reports of dead fixtures are coming in way too soon. The warranty claims are piling up, and it's a logistical nightmare.
Most first-year failures are not bad luck. They trace back to three specific root causes: excessive heat burning out internal components, electrical surges overwhelming the protection, and moisture getting inside the housing. These are fundamental specification and design flaws that can be caught upfront.

After analyzing thousands of warranty claims over the years, a clear pattern emerges. It's almost always one of these three culprits. Understanding them is the first step to preventing them. They work in different ways, but they all lead to the same result: a dark street and an unhappy client.
The Three Horsemen of Luminaire Failure
-
Heat (The Silent Killer): The LED chip and the driver both generate heat. If the luminaire's body can't dissipate this heat effectively, especially in a hot climate, the internal temperature skyrockets. The most critical metric is the junction temperature2 (Tj) of the LED. For every 10°C increase in Tj above its recommended limit, the LED's lifespan can be cut in half. Even more vulnerable is the driver. Its capacitors and electronic components degrade rapidly with heat, leading to premature burnout.
-
Surge (The Sudden Killer): Your electrical grid isn't perfectly stable. Nearby lightning strikes (even miles away) or routine power switching at a substation can induce powerful voltage spikes onto the power lines. These surges can be thousands of volts and can instantly destroy a driver or the Surge Protection Device (SPD) if it's not rated to handle the event.
-
Moisture (The Insidious Killer): You might think a high IP rating solves this, but it's more complex. A luminaire heats up when on, expanding the air inside and pushing it out. When it cools, it creates a vacuum and sucks outside air in. If this air is humid, moisture is drawn into the fixture, where it condenses on cool surfaces like the driver casing or circuit boards, leading to corrosion and short circuits over time.
A 10°C increase in an LED's junction temperature can reduce its L70 lifespan by 50%.True
This is a widely accepted rule of thumb in the lighting industry, based on the Arrhenius equation, which models the temperature dependence of chemical reaction rates, including the degradation of LED materials.
Parallel LED strings are more reliable than series strings.False
It's the opposite. In a series string, if one LED fails open, the entire string goes out. In a parallel design, if one LED fails, the others remain lit, and the driver can often compensate, though it may put more stress on the remaining LEDs.
How do you use a thermal checklist to keep junction temps safe?
Your spec sheet says the driver is rated for high temperatures, but they are still burning out in the field. You're losing money and time on replacements. It's incredibly frustrating.
The solution is a simple pass/fail checklist focused on thermal proof, not just promises. Verify the luminaire's design with third-party test reports (like an ISTMT). More importantly, demand proof that the driver's temperature test point (Tc) stays well below its maximum rating in simulated real-world conditions.
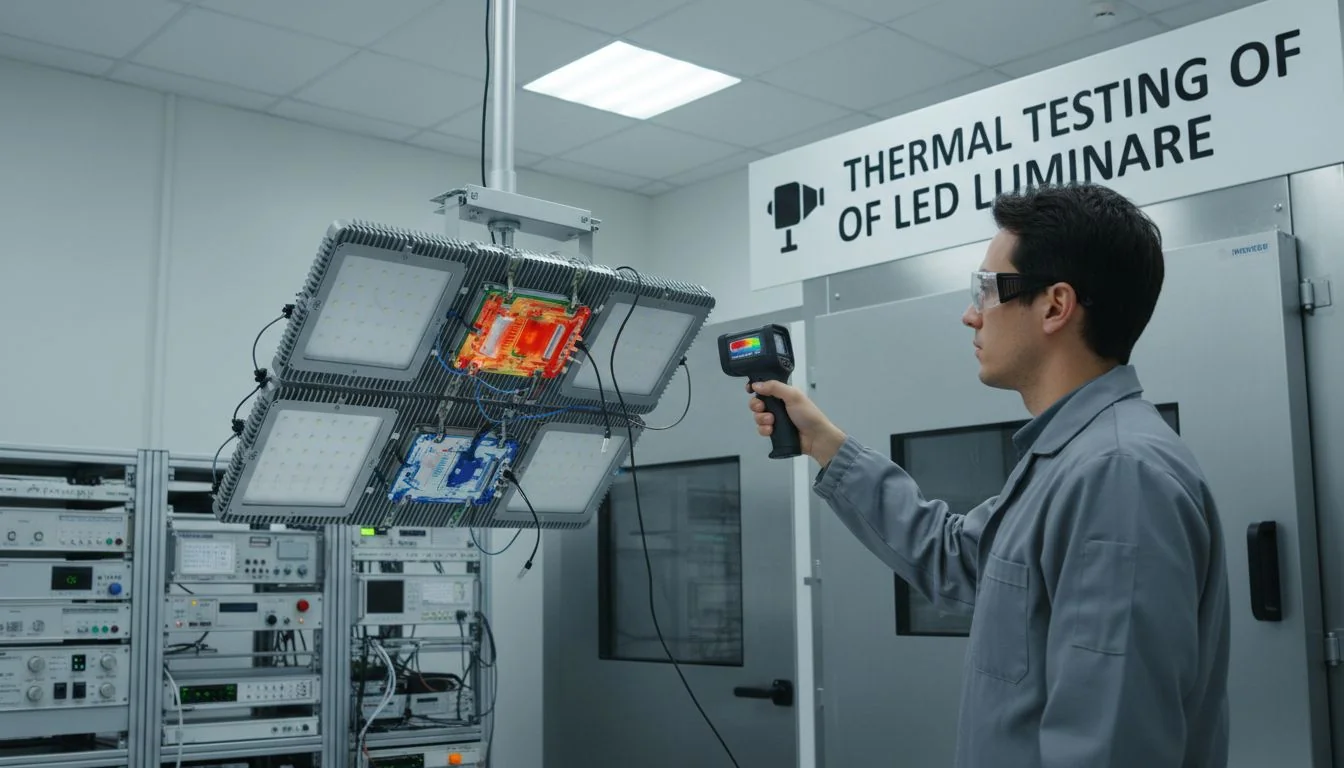
A datasheet can say anything. I always tell my clients to ask for the proof. A reliable manufacturer will have this data ready. The key is to look beyond the specs on a page and understand how the luminaire will actually perform in your specific environment. On a project for a client in the Middle East, we specified fixtures with automatic thermal foldback3. During an unexpected heatwave, the lights dimmed slightly to protect themselves instead of burning out. That single feature saved the client from replacing hundreds of units. This isn't a luxury feature; it's essential insurance.
Your Pass/Fail Thermal Checklist
| Checklist Item | Pass Criteria | Why It Matters |
|---|---|---|
| 1. Thermal Design | Manufacturer provides a third-party In-Situ Temperature Measurement Test (ISTMT) report. | This proves the heat sink is effective and the LED junction temperature (Tj) is within safe limits under operational conditions. |
| 2. Driver Tc Point | The measured Tc point in the ISTMT report is at least 10-15°C below the driver's maximum rated Tc. | The driver is often the first component to fail from heat. This safety margin ensures its longevity, especially in hot climates. |
| 3. Thermal Protection | The driver specification confirms it has automatic thermal foldback or shutdown protection. | This is a fail-safe. If ambient temperatures exceed expectations, the driver will reduce power to prevent self-destruction. |
Thermal foldback protection is a standard feature in all outdoor LED drivers.False
While common in high-quality drivers, it is often omitted in low-cost models to save money. It is a critical feature that must be explicitly specified for reliable outdoor applications.
A good heat sink design is more important than the LED chip's brand for thermal management.True
Even the best LED chip will fail quickly if heat is not effectively drawn away from it. The luminaire's overall thermal management system (heat sink, thermal interface material, airflow) is the dominant factor in its long-term performance.
How do you map your site to ANSI C136.2 and pick the right SPD?
A single thunderstorm just wiped out a dozen of your new street lights. The "standard" surge protection you were sold clearly wasn't enough. Now you're facing unexpected and unbudgeted repair costs.
Stop guessing on surge protection. Use the ANSI C136.24 standard to classify your site's exposure level. This industry guideline helps you determine if you need typical (6kV/3kA), enhanced (10kV/5kA), or extreme (20kV/10kA) protection. Then, you can specify a luminaire with a matching Surge Protection Device (SPD).
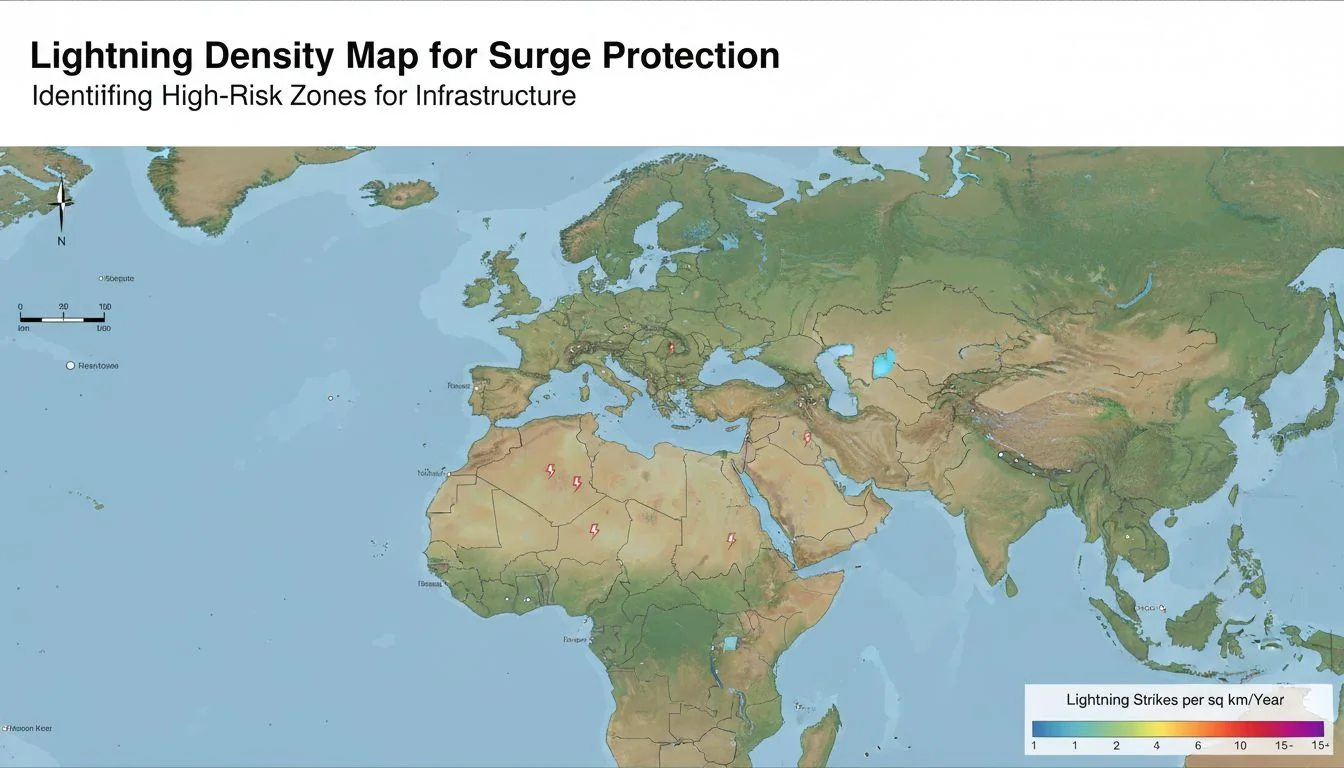
I learned this lesson the hard way on an early project in Southeast Asia, a region with very high lightning activity. We installed fixtures with standard 6kV protection, and the failure rate after the first rainy season was unacceptable. We had to go back and retrofit every single fixture with a 20kV SPD. Now, for any project, the first questions I ask are about overhead power lines and local lightning frequency. For a small upfront cost, upgrading from 6kV to 10kV or 20kV protection is the cheapest insurance you can buy. It turns a potentially catastrophic event into a non-issue.
Matching Surge Protection to Your Site
The ANSI standard gives us a clear framework. It's not just for lightning; it also accounts for surges from the utility grid itself.
| Exposure Level | ANSI C136.2 Rating | Typical Location & Risk Profile |
|---|---|---|
| C-Low (Typical) | 6kV / 3kA | Dense urban centers with underground wiring. Low lightning activity. |
| C-Medium (Enhanced) | 10kV / 5kA | Suburban areas, mix of overhead/underground lines. Moderate lightning. This is my recommended baseline for most roadway projects. |
| C-High (Extreme) | 20kV / 10kA | Rural areas, long overhead power lines, mountainous regions, or areas with high lightning frequency (e.g., Florida, South America, Southeast Asia). |
Don't just accept the default. Look at a lightning map for your region. Ask the local utility about the grid infrastructure. For the vast majority of commercial and infrastructure projects, specifying a 10kV/5kA SPD is the smart move. For critical sites or high-risk zones, 20kV/10kA is a non-negotiable investment in reliability.
A 20kV SPD provides twice the protection of a 10kV SPD.False
It's more complex. The kV rating refers to the peak voltage it can withstand, while the kA rating refers to the surge current it can handle. A 20kV/10kA device can handle a much higher energy event than a 10kV/5kA device, making it exponentially more robust, not just linearly twice as good.
Lightning must strike a pole directly to damage the luminaire.True
A nearby strike (up to a mile away) can induce a powerful surge onto overhead power lines, which then travels to the luminaire. This is the most common cause of surge-related failures.
Your IP65-rated fixtures are showing condensation inside the lens after just one rainy season. You can see corrosion starting on the internal connectors. The IP rating you trusted has failed you.
For professional street lighting, IP65 is not enough. It only protects against low-pressure water jets. You need to specify IP66, which withstands powerful, driving rain and high-pressure washing. More importantly, you need a system that breathes using a hydrophobic vent5 to prevent internal condensation.
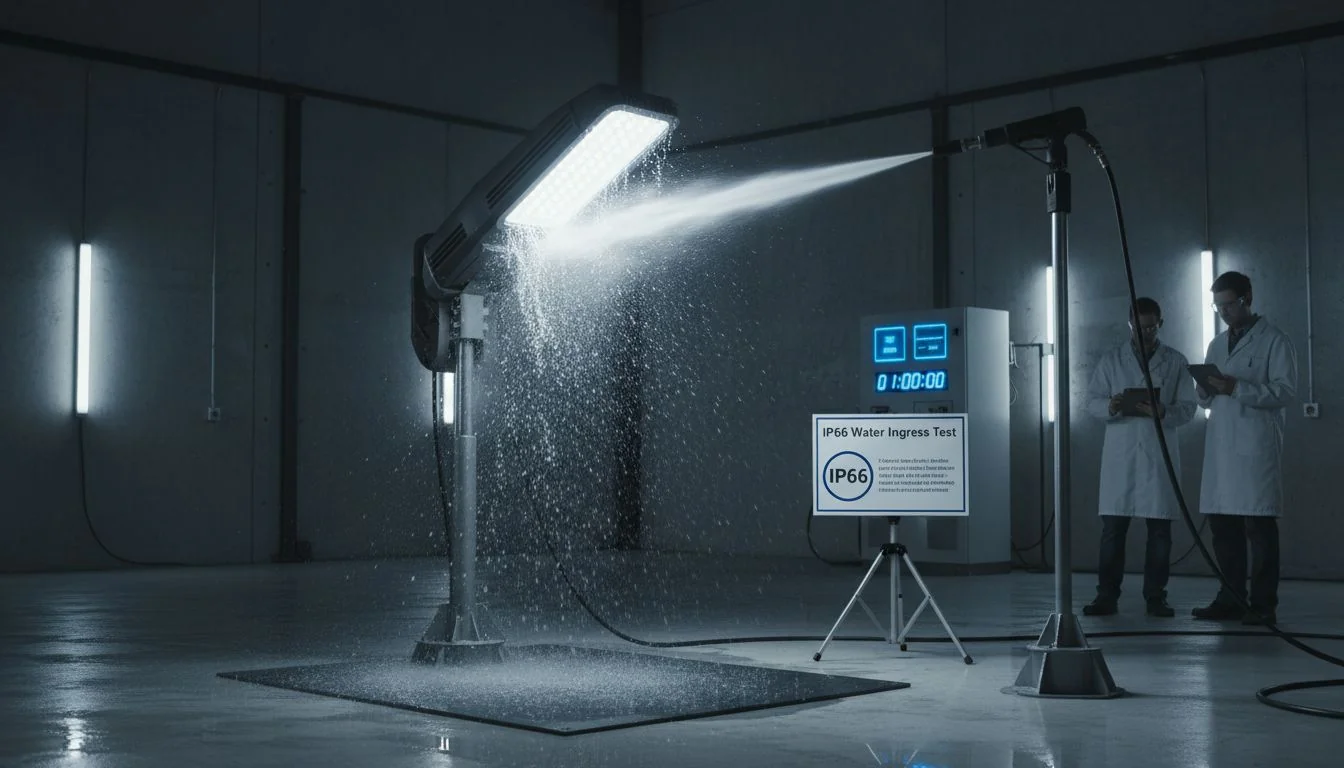
The biggest misconception I see is that a sealed box is a safe box. An outdoor luminaire is not a sealed box; it's a box that breathes. As it heats and cools every single day, pressure changes force air in and out. Without a proper vent, it will inevitably suck in moist air. I've opened up IP67-rated fixtures (rated for full immersion) that were filled with water because they lacked a vent. The water didn't get in from the outside; it was sucked in as humid air and condensed inside. A reliable fixture uses three lines of defense: robust IP66-rated seals, a breathable membrane vent to equalize pressure, and a smart internal design that ensures any potential condensation can drain away safely.
The Real Moisture Protection Strategy: Seal, Vent, Drain
| Protection Layer | What to Specify | Why It's Critical |
|---|---|---|
| 1. Seal (The First Barrier) | IP66 Rating Minimum. Look for high-quality, one-piece silicone gaskets, not cheap foam that will compress and degrade over time. | IP66 protects against powerful water jets, simulating wind-driven rain. IP65 does not. A quality gasket ensures the seal remains intact for years. |
| 2. Vent (The Pressure Valve) | A hydrophobic, breathable membrane vent. This should be a required component on your spec sheet. | This allows air pressure to equalize between the inside and outside of the fixture without allowing water molecules to enter. It stops the "sucking" action during cool-down. |
| 3. Drain (The Fail-Safe) | The internal design should have no "pools" where water can collect. The driver and electronics should be mounted high, with drainage paths leading out. | Even with the best seals and vents, a small amount of condensation can form in extreme conditions. A good design ensures this moisture drains out instead of pooling on critical components. |
IP65 and IP66 ratings offer the same level of dust protection.True
The first digit in an IP rating refers to solids/dust protection. A '6' is the highest level, meaning 'dust tight'. Both IP65 and IP66 offer this same level of protection against dust ingress.
A breathable vent in a luminaire will eventually get clogged and fail.False
Modern hydrophobic and oleophobic vents (like those from Gore-Tex) are engineered to resist clogging from dust, oils, and other contaminants for many years, maintaining airflow while blocking water.
What 10-minute field tests can catch 90% of early failures before handover?
You've signed off on a project, and the final payment has been made. Weeks later, a wave of failures begins. The contractor is long gone, and the problem is now entirely yours to solve.
Don't just flip a switch and call it done. A simple 10-minute inspection6 per pole before you officially accept the project can save you from this nightmare. A quick visual check, a power-on test, and a spot temperature reading can identify shipping damage, loose connections, or faulty components before they become your problem.
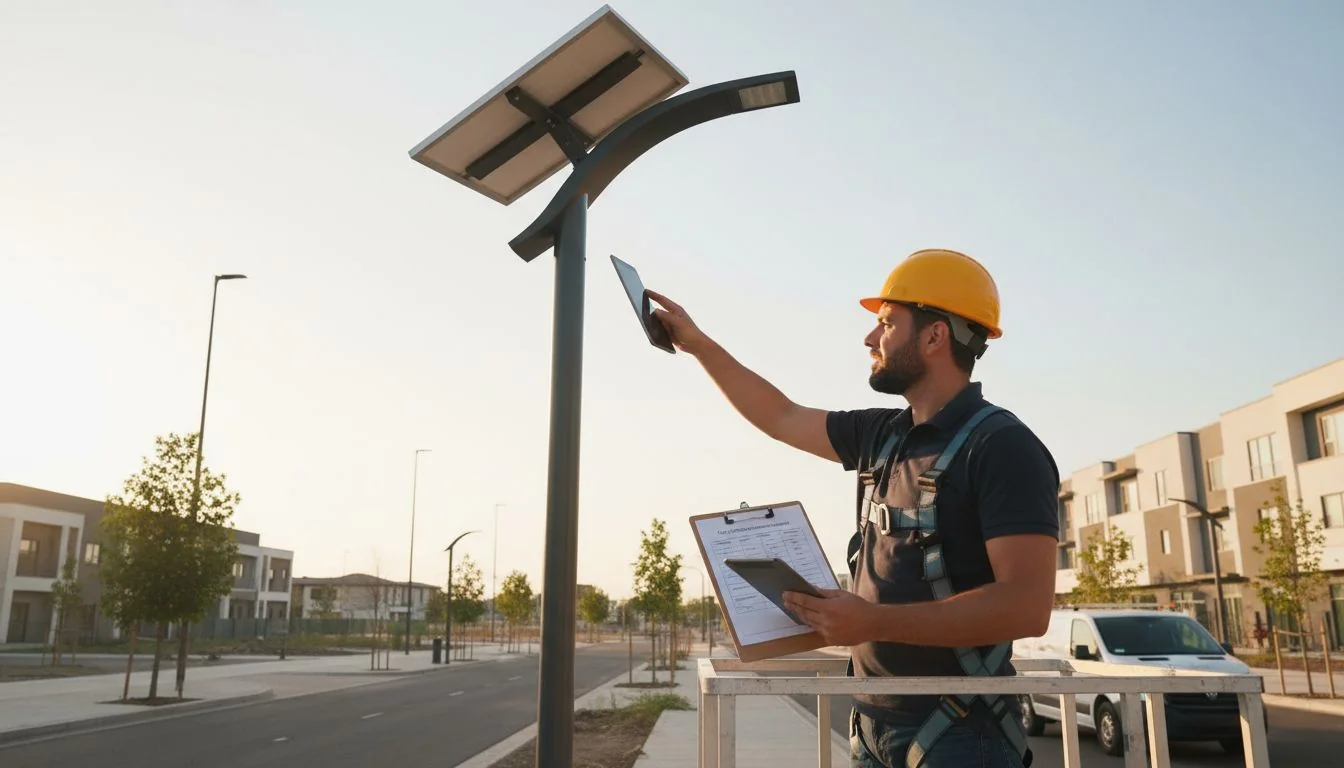
This is the final and most crucial step. I insist on this with all my clients. It's the last chance to catch problems when they are easy and cheap to fix. On one large parking lot project, my team used this exact checklist. We found one fixture that was running 20°C hotter than all the others. The contractor swapped it out in 15 minutes. If we hadn't checked, that driver would have failed within six months, requiring a much more expensive service call with a bucket truck and lane closures. This simple process builds accountability and ensures you are getting the quality you paid for.
The 10-Minute Pre-Handover Checklist
-
Visual & Physical Inspection (3 Minutes)
- Damage Check: Look at the housing, lens, and mounting bracket. Are there any cracks, dents, or deep scratches from shipping or installation?
- Seal Check: Look at the gasket around the lens and driver compartment. Is it seated correctly? Is it pinched or deformed?
- Connection Check: Confirm all external waterproof connectors are fully tightened. Give the power cable a gentle tug to ensure it's secure.
-
Power-On Test (5 Minutes)
- Function Check: Power on the luminaire. Does it turn on immediately? Is there any visible flickering or buzzing?
- Thermal Spot-Check: Let it run for 5 minutes. Use a basic infrared (IR) thermometer to take a reading from the same spot on the housing of several adjacent fixtures. Are the readings consistent (within 5-10°C)? A single hot unit is a major red flag.
-
Documentation Check (2 Minutes)
- Serial Number Log: Quickly verify that the serial number on a sample of fixtures matches what's on the project delivery documents. This is vital for any future warranty claims.
Flickering in a new LED light is a sign of a failing driver.True
While it can also be caused by a loose connection, persistent flickering is a classic symptom of a driver's internal components (like capacitors) failing or an incompatibility with the power supply or dimmer.
An infrared thermometer is too expensive for basic field tests.False
Basic, reliable IR thermometers are widely available for under $50. The cost is negligible compared to the cost of a single failed luminaire replacement, making it an essential tool for any commissioning team.
Conclusion
By focusing on heat, surge, and moisture from the start and verifying your work with simple field tests, you can eliminate the vast majority of first-year street light failures.
References
-
Understanding thermal protection is crucial for ensuring the longevity and reliability of LED street lights. ↩
-
Junction temperature is a key factor in LED performance and lifespan, making it important to understand for effective lighting design. ↩
-
Thermal foldback is a protective feature that helps prevent LED driver failure due to excessive heat, ensuring reliability. ↩
-
ANSI C136.2 provides guidelines for surge protection, helping to ensure that street lights are adequately protected from electrical surges. ↩
-
A hydrophobic vent is crucial for preventing moisture buildup in outdoor fixtures, enhancing their durability and performance. ↩
-
A 10-minute inspection can catch potential issues before they become costly failures, ensuring project success. ↩